Listing Expiry
The listing expiry feature lets you set an expiration date for each listing either automatically or manually.
Note: If your directory has payment features enabled, then listings with a payment plan will expire according to the duration setting configured for the payment plan assigned.
Enable listing expiry for your directory
To enable the listing expiration feature for listings in your directory, follow these steps:
Login to your website if not yet logged in and go to the WordPress administration dashboard.
Click Directories in the admin sidebar.
Under the All Directories tab, click the gear icon in the row of the directory to edit.
Under the Content Types tab, click the Edit button in the Listing row.
Scroll down to the Listing Expiry section.

Enable expiration date - Toggle this setting to enable the expiration feature.
Status after expiration - Choose the post status assigned after expiration.
Expiration date field - Select the field used to set the expiration date. This setting is available only when there is a custom Date type field.
Default expiration period - Use this setting to automatically set an expiration date for listings submitted from the frontend. Select "Unlimited day(s)" if you do not want listings to have an expiration date set automatically.
Expire referencing/referenced items - Decide whether to expire items that are referencing or referenced by the expired item through a Reference type field.
Scroll down and press Save Changes.
Manually setting or changing an expiration date
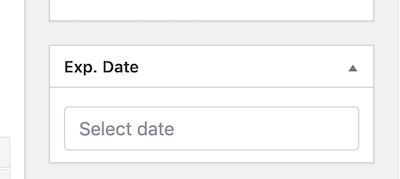
Once you have enabled the listing expiry feature in your directory, you will see the following Exp. Date metabox appear on the add/edit listing page in the backend.

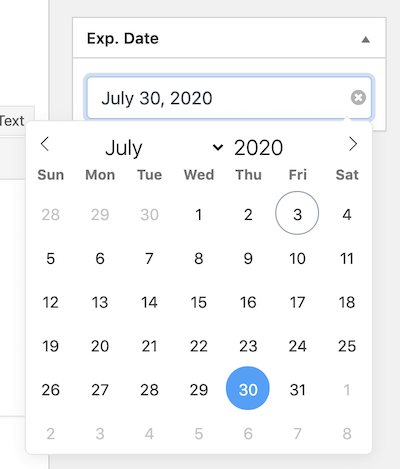
Click on the text field to select an expiration date or click the x icon in the text field to remove the date.

In case you are not seeing the Exp. Date metabox on the add/edit listing page, go to Directories -> Your directory -> Settings and press Save Changes.