Reviews
The reviews feature of Directories Pro lets users submit reviews for listings in your directory.
Enable reviews
Follow these steps to enable reviews for your directory:
Login to your website if not yet logged in and go to the WordPress administration dashboard.
Click Directories in the admin sidebar.
Under the All Directories tab, click the gear icon in the row of the directory to edit.
Under the Settings tab, scroll down the page and select Yes for Enable reviews.

Scroll further down and click Save Changes.
Note: If your directory has payment features enabled, please make sure to switch on the Enable reviews option for your payment plans to enable reviews. For listings without a payment plan, you can switch on the same option for the default feature level.
Add a submit review button
Note: If the reviews feature was enabled when you initially created your directory, then it is most likely that a submit review button is already enabled on the single listing page. In that case, you can skip this section.
In order to add a submit review button to the single listing page so that users can add reviews, you will need to edit the Detailed display of listings:
On your directory admin main page, click the Content Types tab.
Click the dropdown button in the Listing row and then click Manage Displays.
Click the Detailed sub-tab.
Locate and hover over to the second Button element placed under Photos in the display and click the gear icon.

In the popup window, check the Add review button option under General Settings -> Select buttons.

Click Save Changes.
Adding a review
Users that have the Create Reviews permission (see Permissions for details on permissions) in your directory can submit reviews for listings.
Follow the steps below to submit a review:
Login to the site with a user account that has the Create Reviews permission and visit the single listing page of a listing in the frontend.
A button labelled Write a Review should be visible as below:

Click the Add Review button.
Enter Title, Rating, Review, and optionally upload Photos and press Submit.
You will be redirected to the single review page showing the review.
Displaying reviews
Note: If the reviews feature was enabled when you initially created your directory, then it is most likely that reviews are already being displayed on the single listing page. In that case, you can skip this section.
Now that users are able to submit reviews, you will need to edit the Detailed display of listings so that reviews can be displayed on the single listing page.
Make sure first that you are on the Detailed display editor page: Directories -> All Directories -> Your directory -> Content Types -> Listing -> Manage Displays.
Displaying overall review ratings

Click the Add Element button at the bottom of the page, and then click the Utility tab in the popup window.
Click the Columns element, and select 2 for Number of columns and click the Add Element button at the bottom of the popup window.
Click the green + button in the left column, and then click the Field tab in the popup window.
Click the Review Ratings element.

Select Rating Bars (by number of stars) for Display Format and click the Add Element button at the bottom of the popup window.
Click the green + button in the right column, and then click the Field tab in the popup window.
Click the Review Ratings element.
Select Rating Bars for Display Format and click the Add Element button at the bottom of the popup window.
Displaying a list of reviews

Click the Add Element button at the bottom of the page.
In the popup window, click the Content tab.
Click the Reviews element.

Select a view for Select View.
Click the Add Element button at the bottom of the popup window.
Customizing review submission form
Adding fields to review submission form
You can add more fields to the review submission form from Directories -> Your directory -> Content Types -> Reviews -> Manage Fields. For more details on fields, see Adding and Managing Fields.
Custom rating criteria
By default, only a single rating field is available when submitting a review. If you wish users to be able to rate listings with more than one rating criteria, follow the steps below:
Login to your website if not yet logged in and go to the WordPress administration dashboard.
Click Directories in the admin sidebar.
Under the All Directories tab, click the gear icon in the row of the directory to edit.
Under the Content Types tab, click the Edit button in the Review row.
Under the Edit tab, scroll down to the Review Settings section and add any number of rating criteria to Rating criteria. Enter a display label and a machine-readable name (slug) for each option. You can also drag the options up and down to change the display order.

Note: Rating values are saved using rating criteria slugs as keys. Therefore, changing the slugs of existing rating criteria will reset the values of those criteria since old values can no longer be fetched from the database.
Click Save Changes.
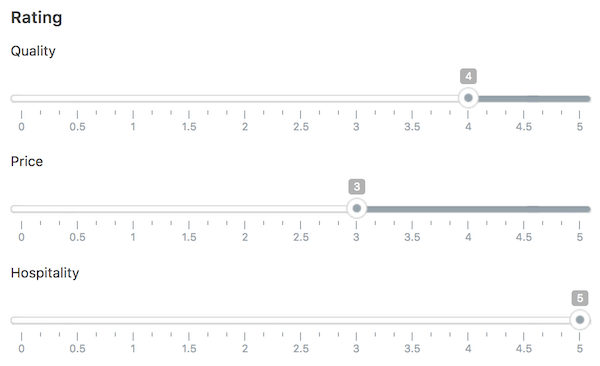
You should now then see multiple rating fields shown in the review submission form as below:
