Bookings
Enable bookings
Follow these steps to enable the booking functionality for listings in your directory:
Log in to your website if not yet logged in and go to the WordPress administration dashboard.
Click Directories in the admin sidebar.
Under the All Directories tab, click the gear icon (Settings) in the row of the directory you wish to edit.
Under the Settings tab, scroll down and select Yes for Enable bookings.

Scroll further down and click Save Changes.
Note: If your directory has payment features enabled, please make sure to switch on the Enable bookings within your payment plans to enable bookings. For listings not associated with a payment plan, ensure the same option is enabled for the default feature level.
Adding a Calendar Slot field and calendar slots
After enabling the booking feature, you must create a Calendar Slot field and add calendar slots to your listings to allow users to submit bookings.
Refer to Adding a Calendar Slot field and Adding calendar slots.
Submitting a booking
To allow users to submit bookings, add the calendar slot field to the Detailed display for your listings. Refer to Method 2: Displaying a calendar on the detailed page.
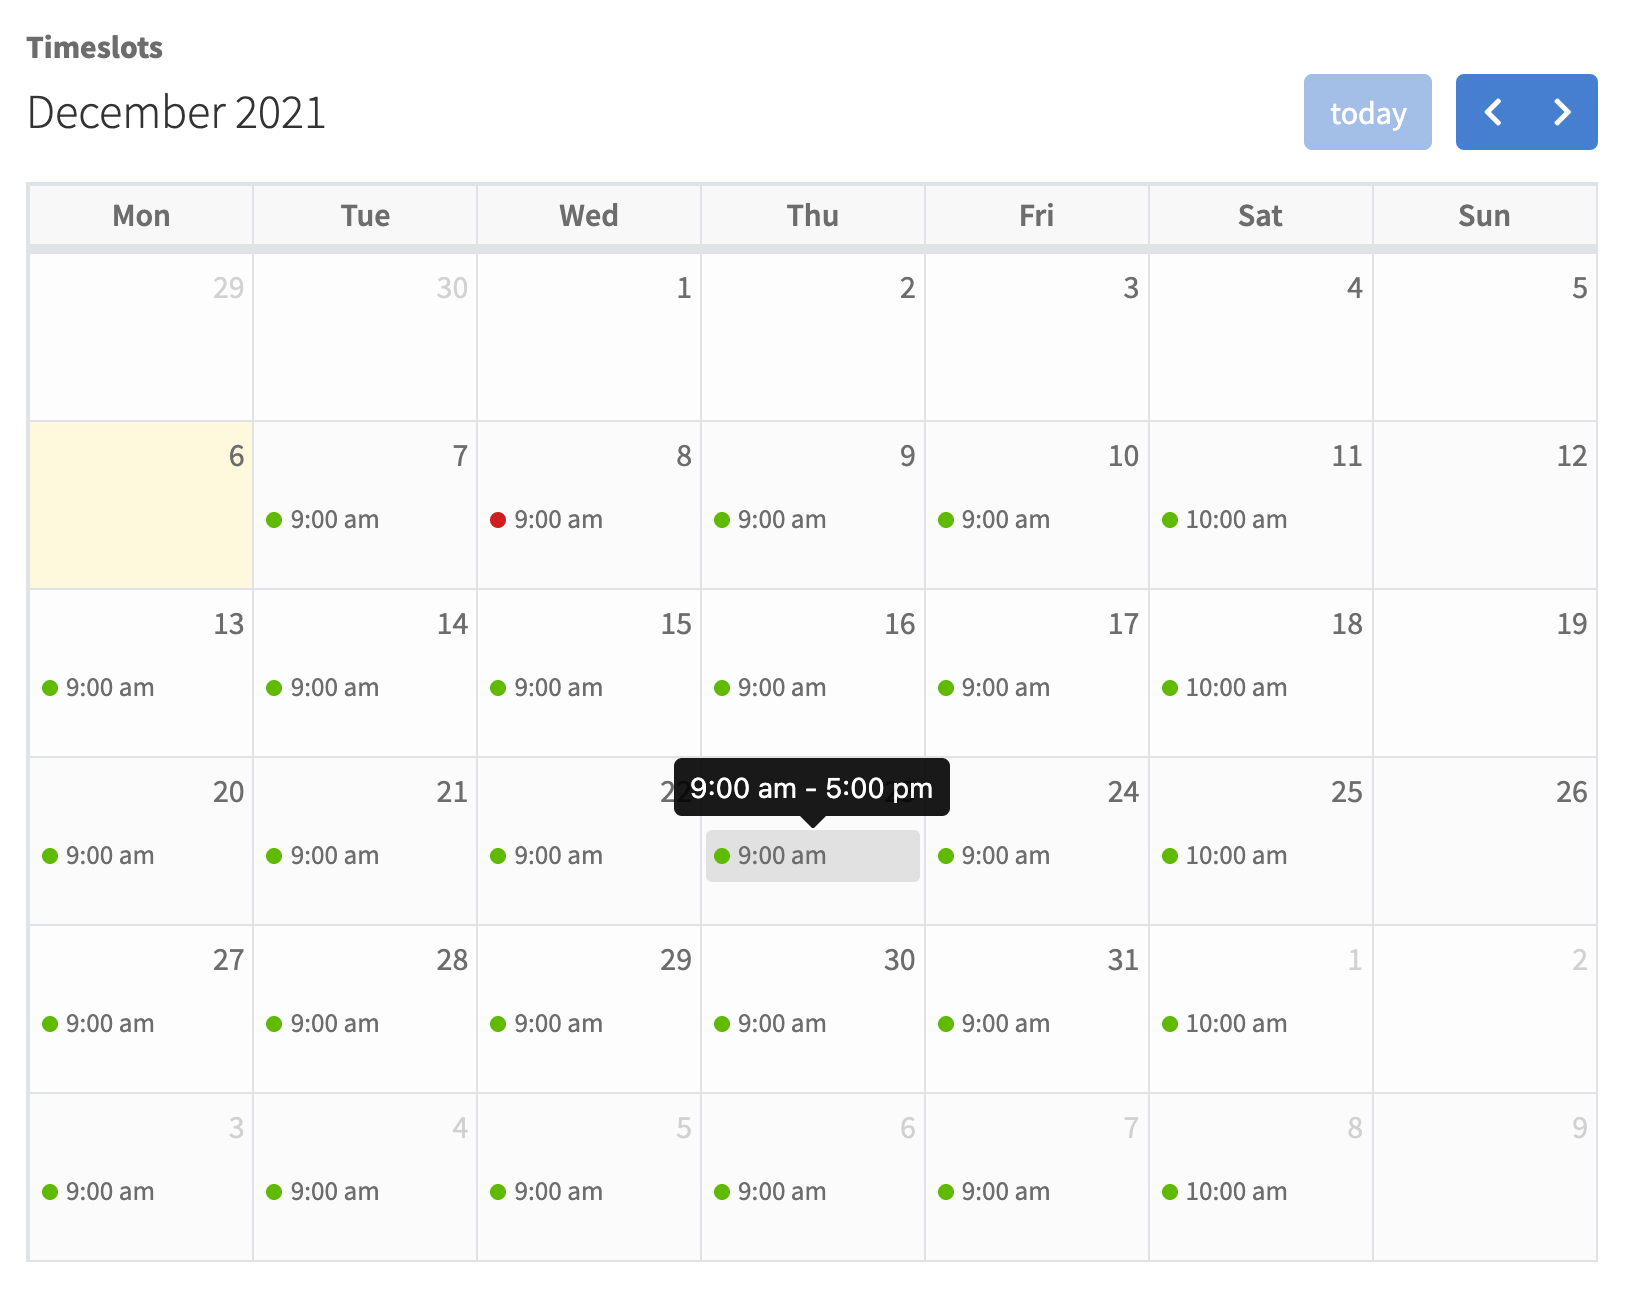
When users visit the single listing page, a booking calendar will be displayed as shown below. Users can click on calendar slots to submit a booking.
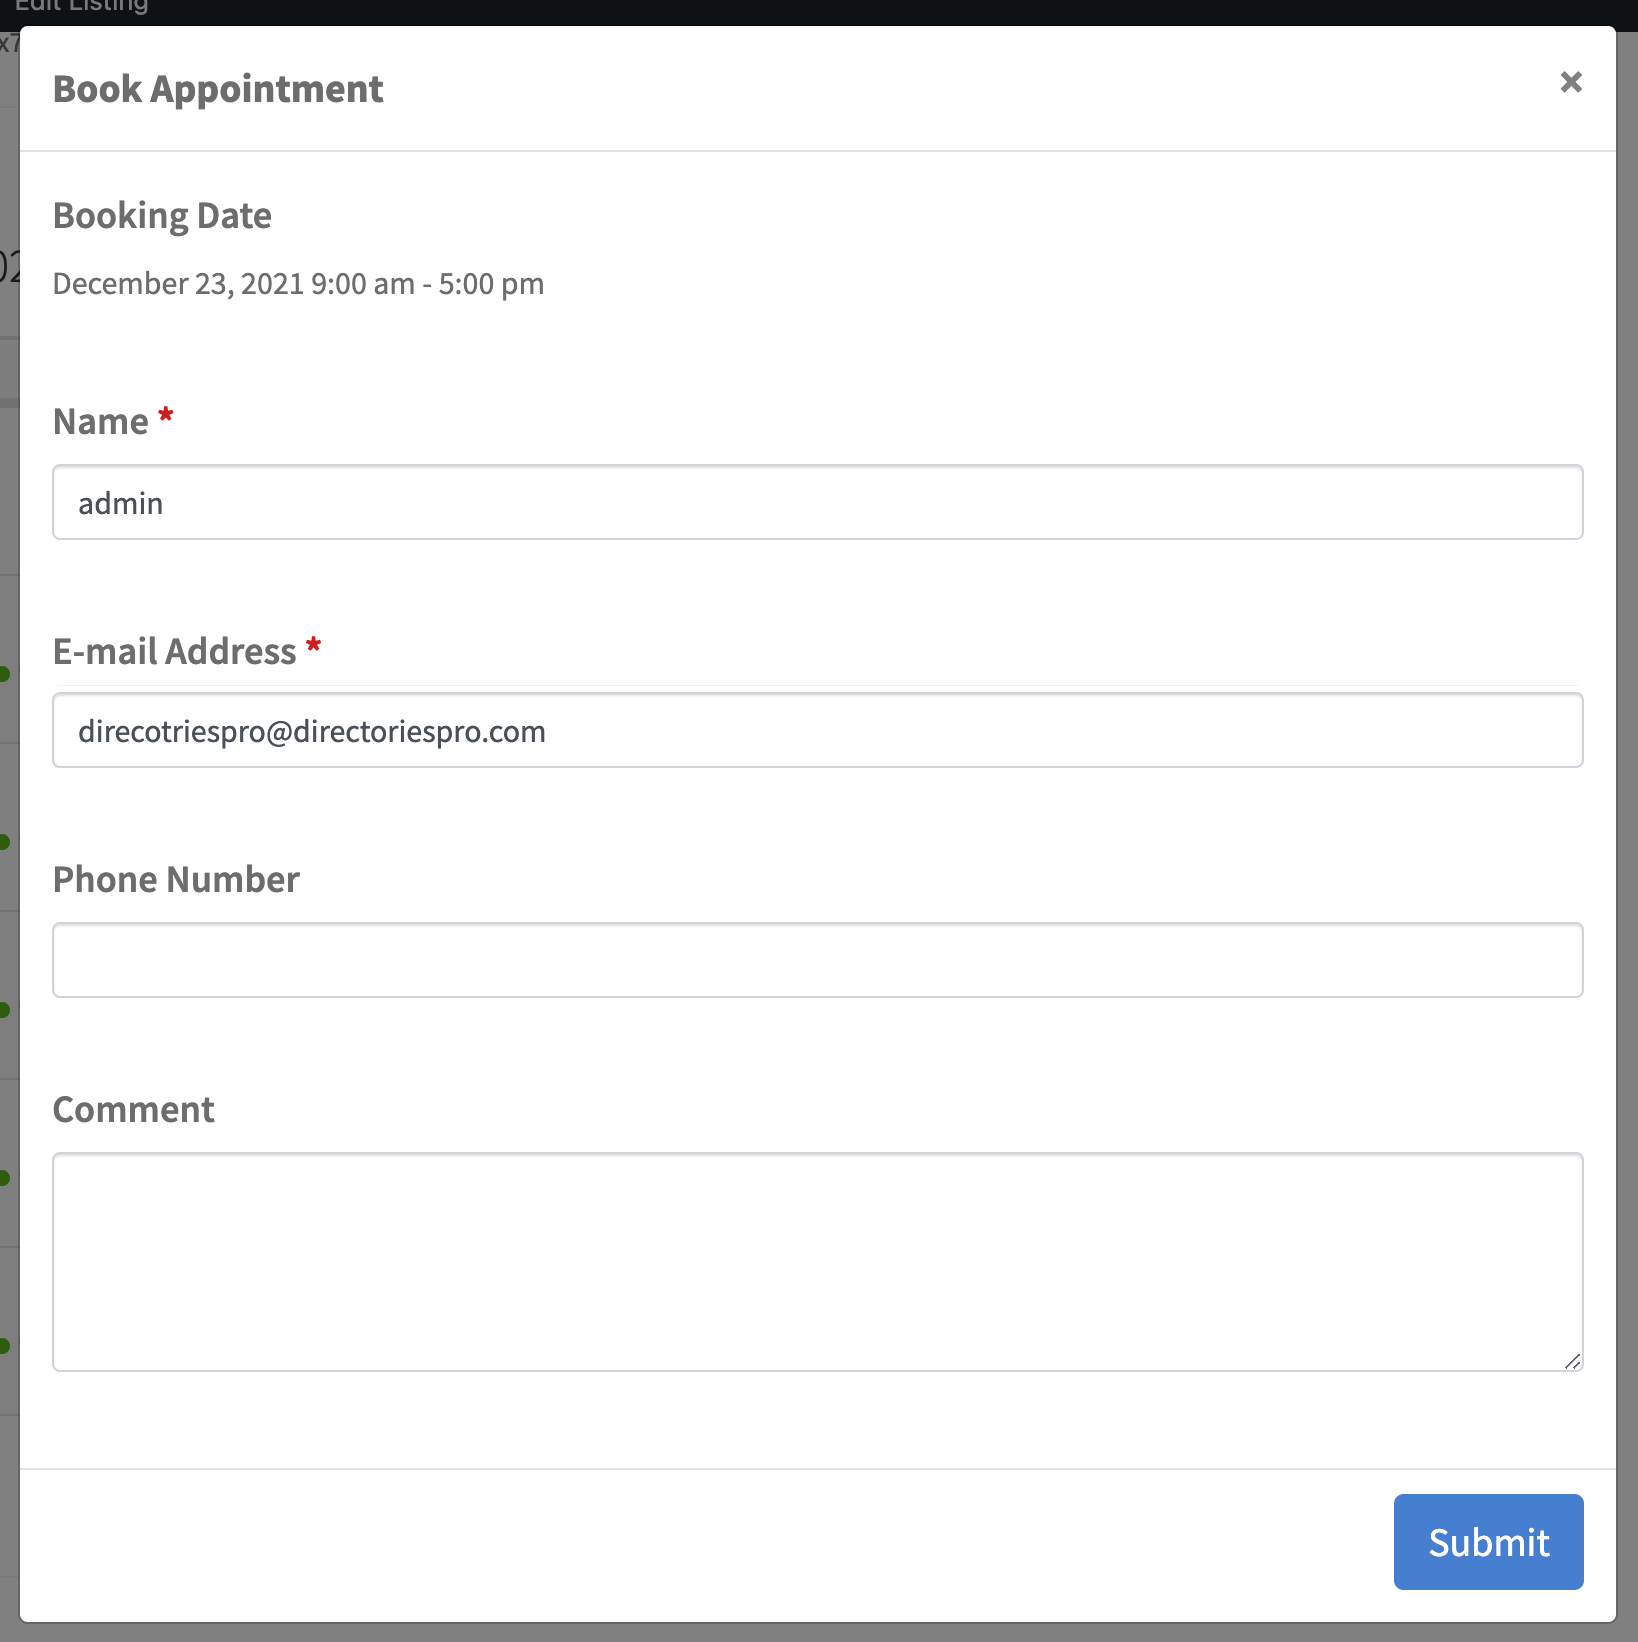
Clicking a slot in the calendar will show a booking form in a modal window.
Customizing the booking form
You can remove default fields and/or add custom fields to the booking form from Directories -> Your directory -> Content Types -> Booking -> Manage Fields (see Adding and Managing Fields for details on field management).
Manage bookings
Backend management
Administrators can view and manage all bookings from the Bookings page in the directory backend.
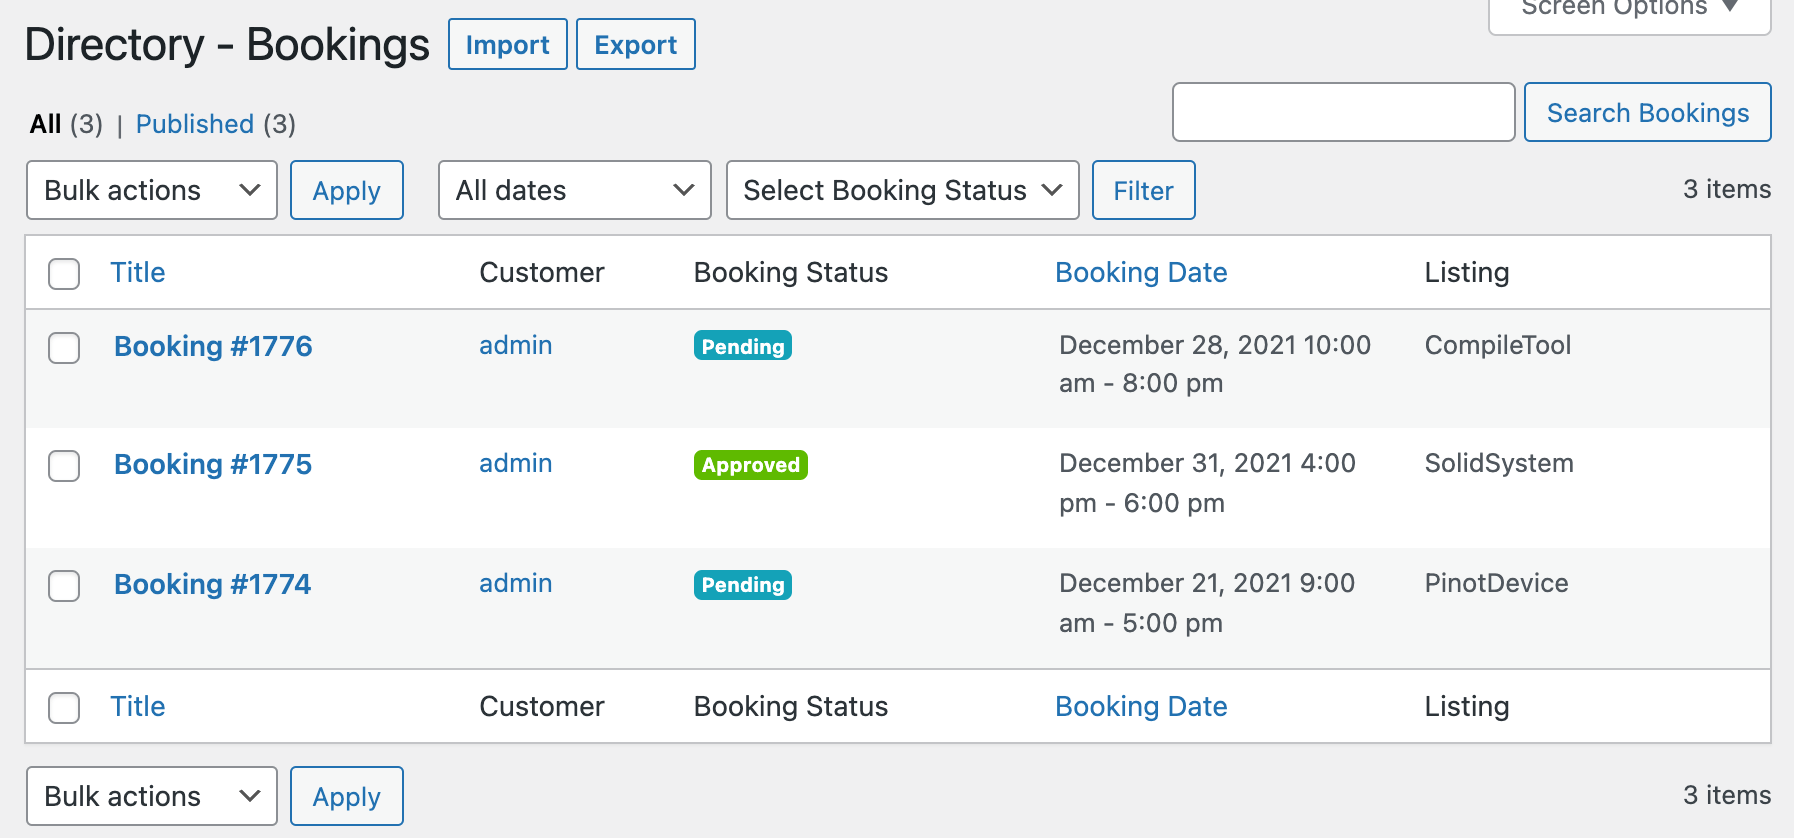
From this screen, you can filter bookings by status and date. Since bookings are stored as a custom post type, you can edit or delete them just like standard WordPress posts.
Frontend dashboard
Listing authors and users (customers) can view and manage their bookings from the frontend dashboard.
Ensure you have set up the frontend dashboard.
Verify that the Bookings panel is enabled under Directories -> Settings -> Dashboard -> Dashboard Settings -> Dashboard panels.
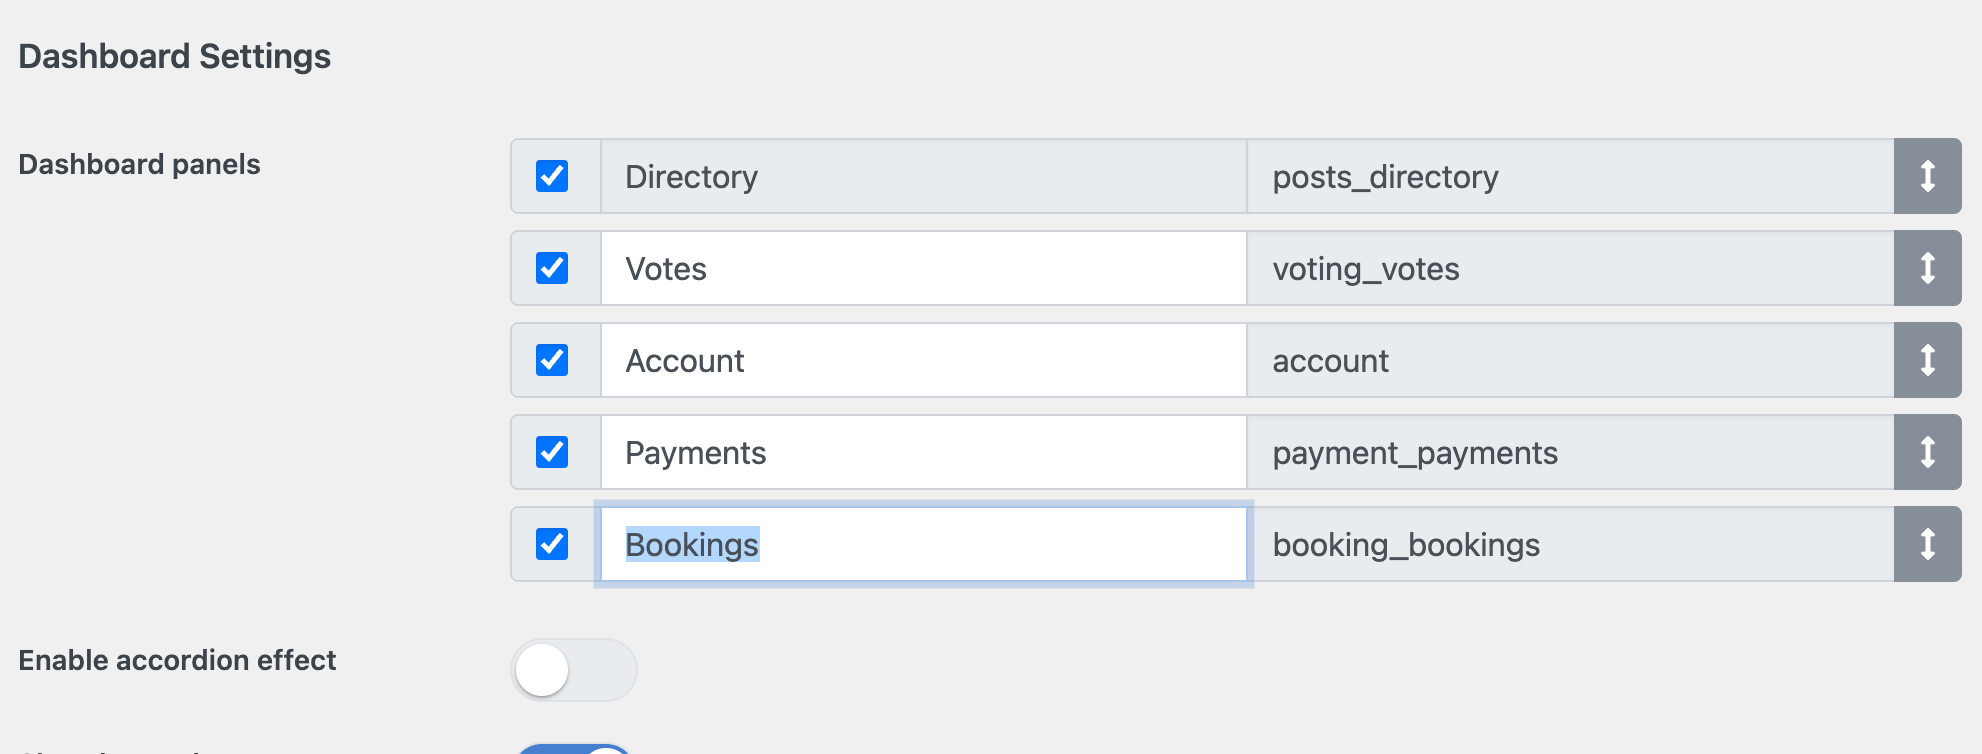
Scroll down and ensure Your Bookings and Bookings Received are checked.

For listing authors
Authors can click Bookings Received in their dashboard sidebar to manage requests. Bookings can be approved, rejected, or cancelled.

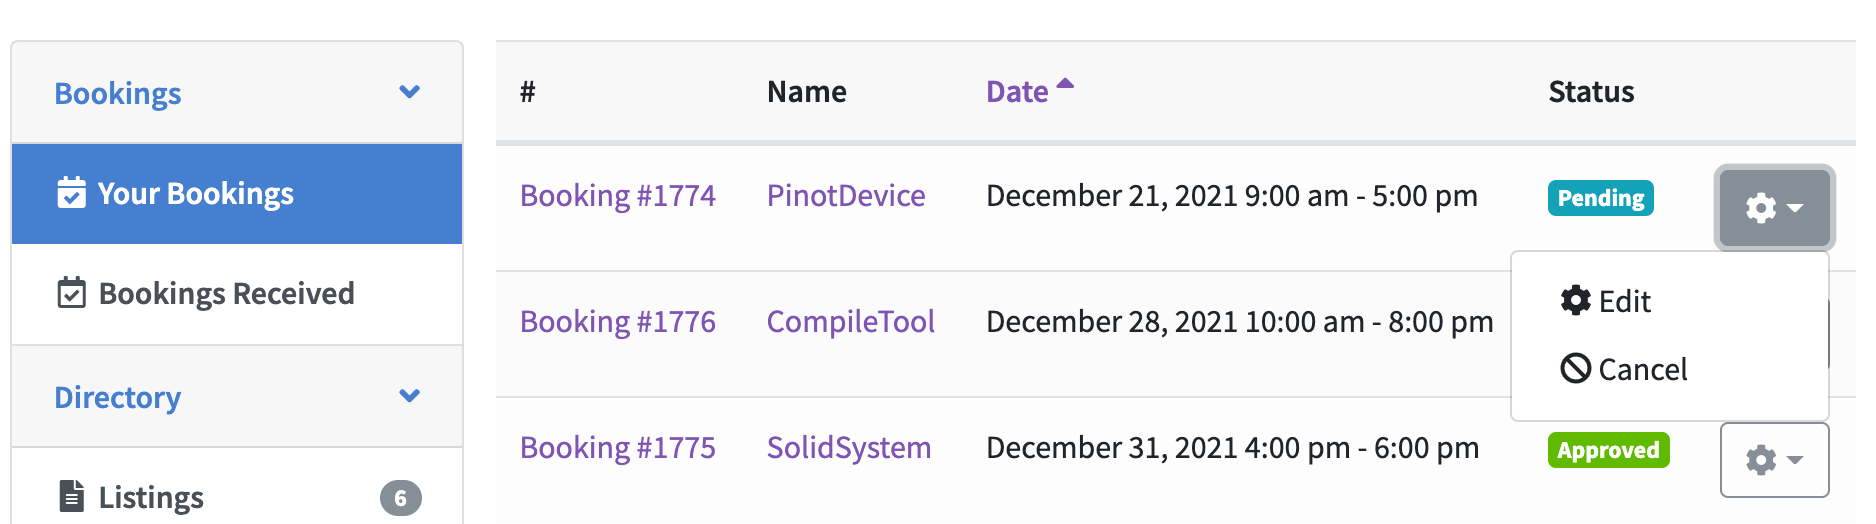
For users (customers)
Users can click Your Bookings to view their submission history. From here, they can view booking details, edit information, or cancel their requests.
Notifications
The following booking-related notifications are available to keep users and admins informed:
- Booking pending review: Sent when a new booking is submitted.
- Booking confirmed: Sent when an author or admin approves a booking.
- Booking rejected: Sent when a booking request is declined.
- Booking cancelled: Sent when a booking is cancelled by either party.
- Booking cancelled (schedule change): Sent if the original slot is modified or removed.
- Booking reminder: An automated reminder sent before the start date/time.
See Notifications for more details on configuring these notifications.