User Directory
The user directory feature lets you create a directory of users registered on your site. The user directory works very similar to a normal directory, but listings in the user directory are WordPress user accounts instead of posts.
Creating a user directory
To create a user directory, follow the steps below.
Login to your website if not yet logged in and go to the WordPress administration dashboard.
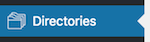
Click Directories in the admin sidebar.
Click the Add Directory green button under the All Directories tab which will open a popup window.
In the popup window, choose Configure a new directory for Choose a method.

Select User Directory for Directory type.

Enter Users for Directory label.
Click the Add Directory button at the bottom of the popup window.
Managing fields, displays, views, and filters
Fields, displays, views, and filters for user listings (or accounts) can be created and managed just like listings in a normal directory.
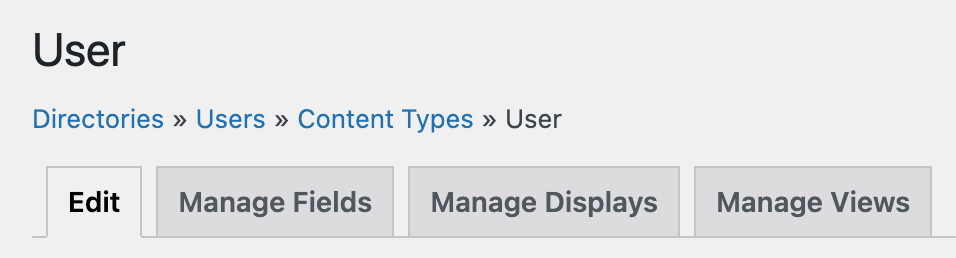
Please see the Getting Started section for detailed instructions.
Editing user profile
Backend
In the backend, User profiles can be edited from the Users page of WordPress. From the User page, click on the Edit link that appears beneath the user name when hovering your cursor over each row.

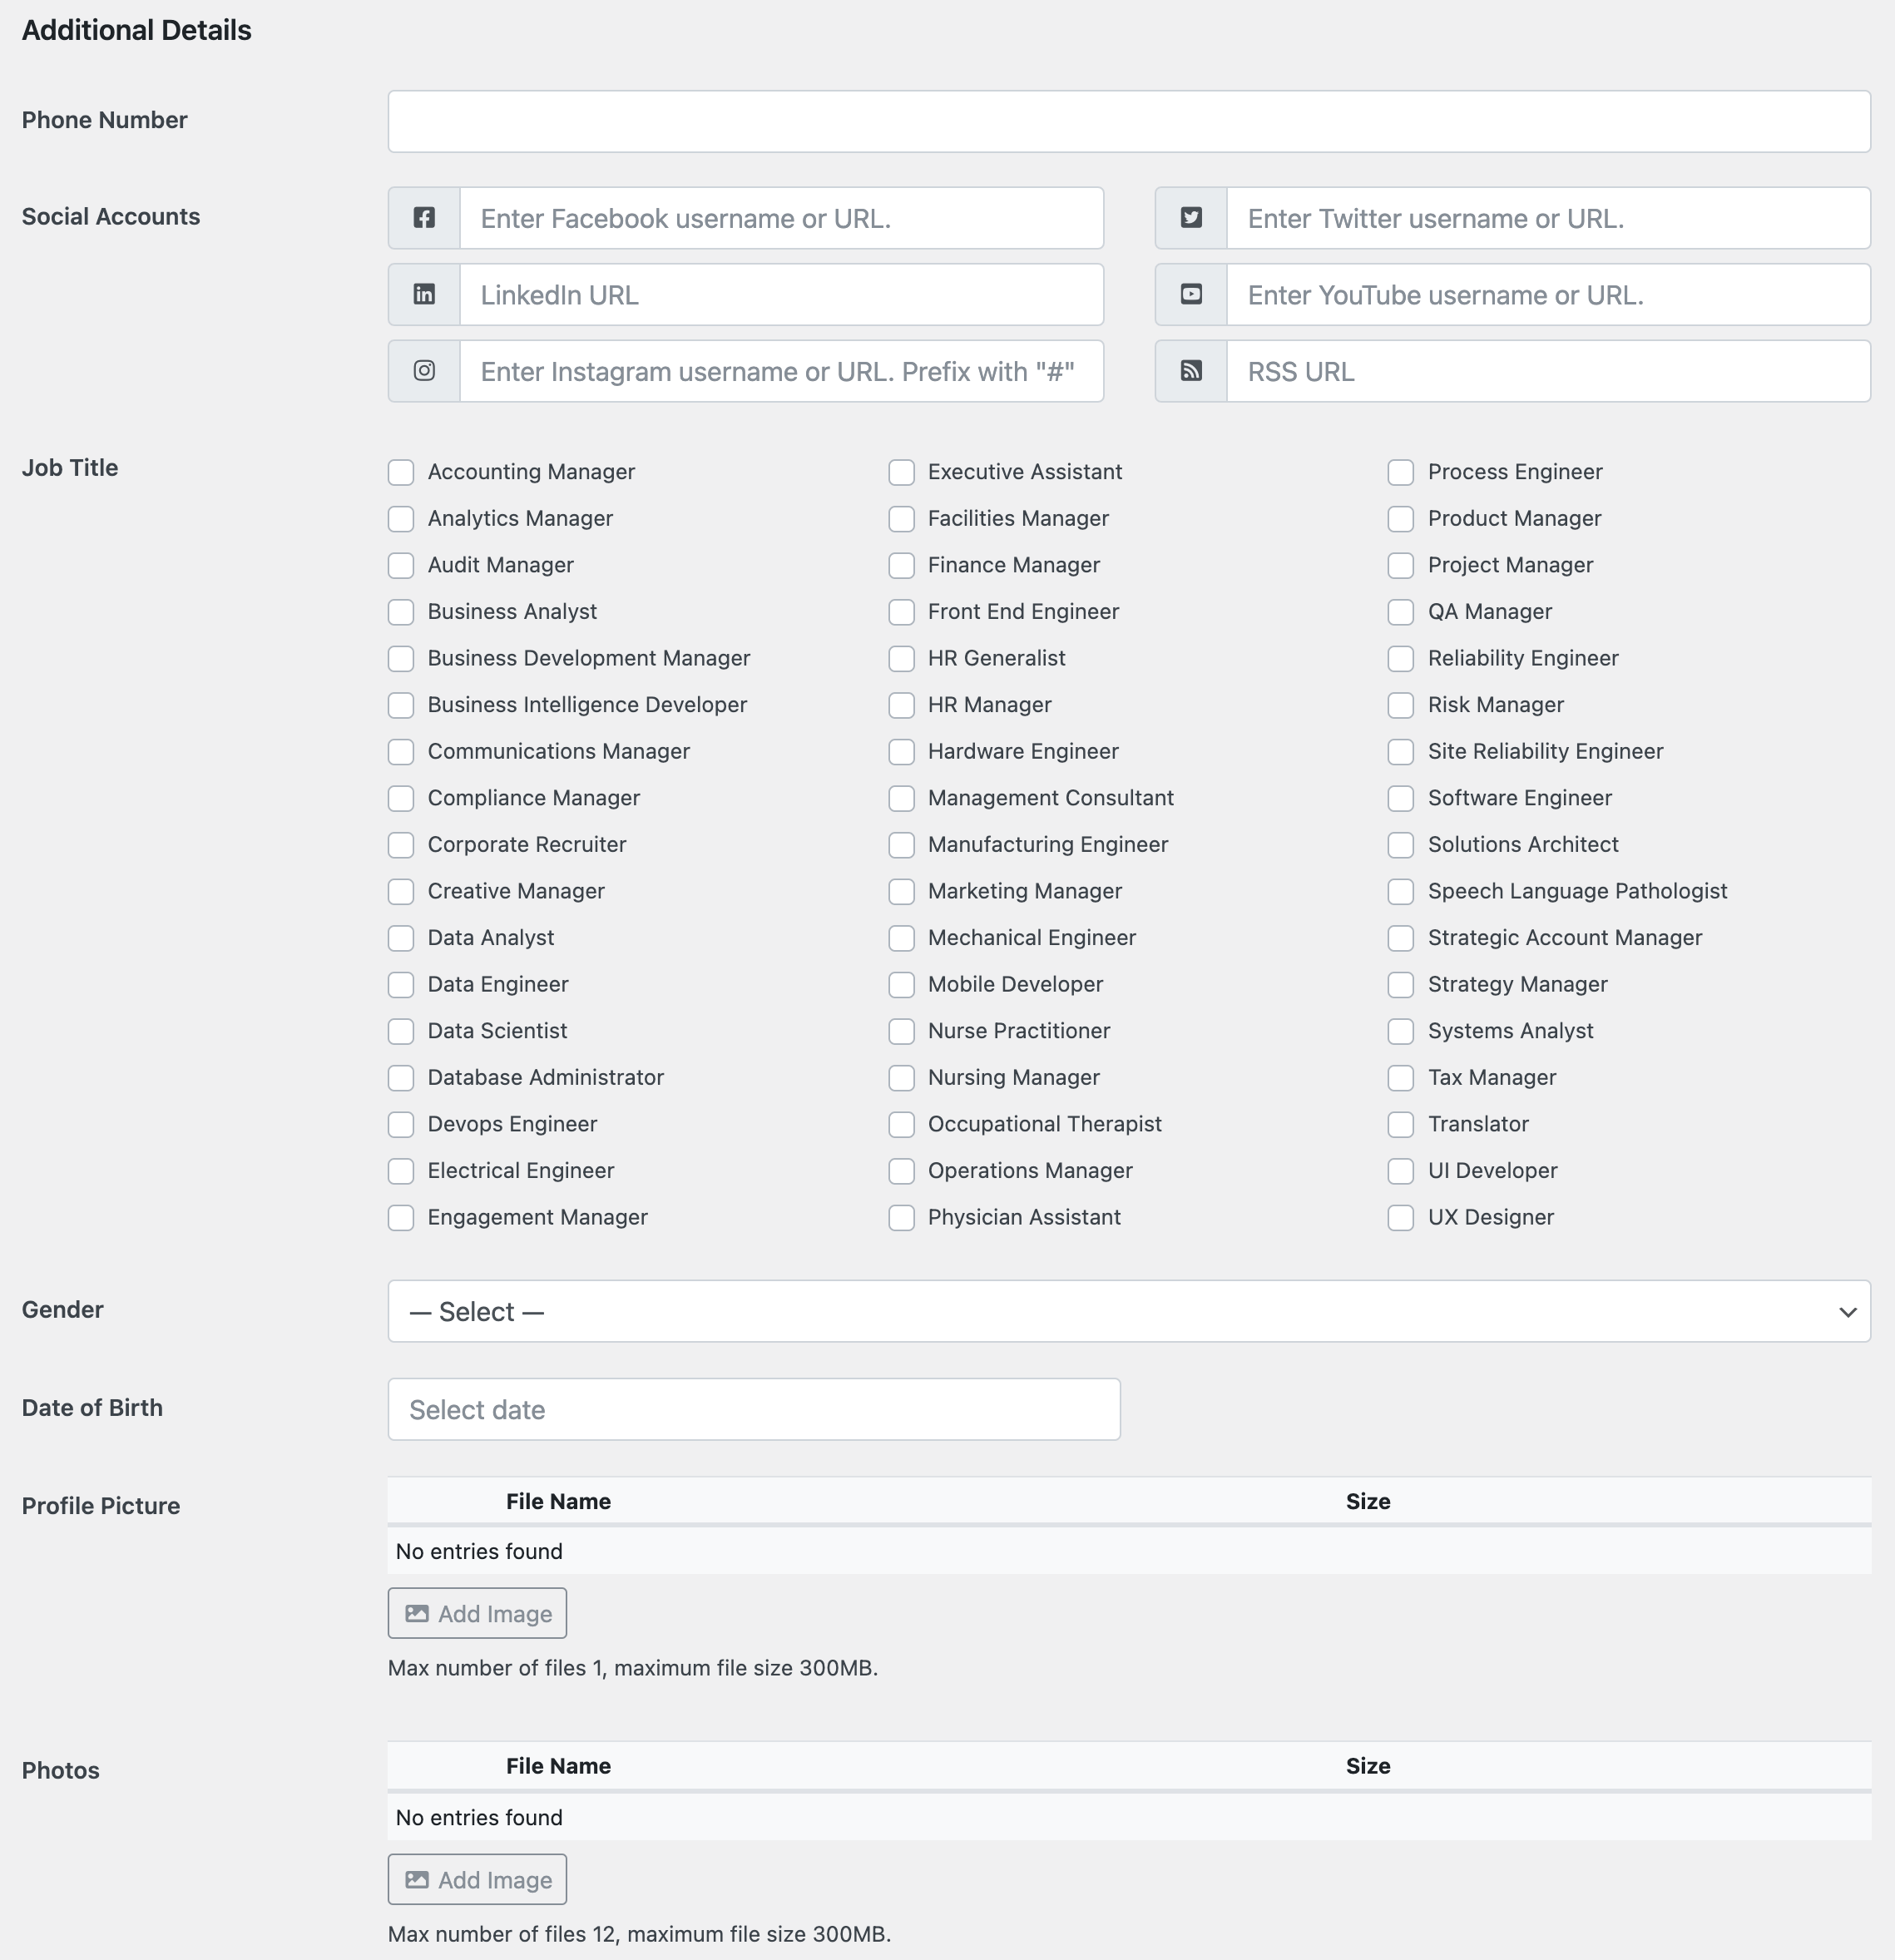
Fields and settings added to the edit profile form by Directories Pro can be found under the Additional Details and Additional Settings sections.
Frontend
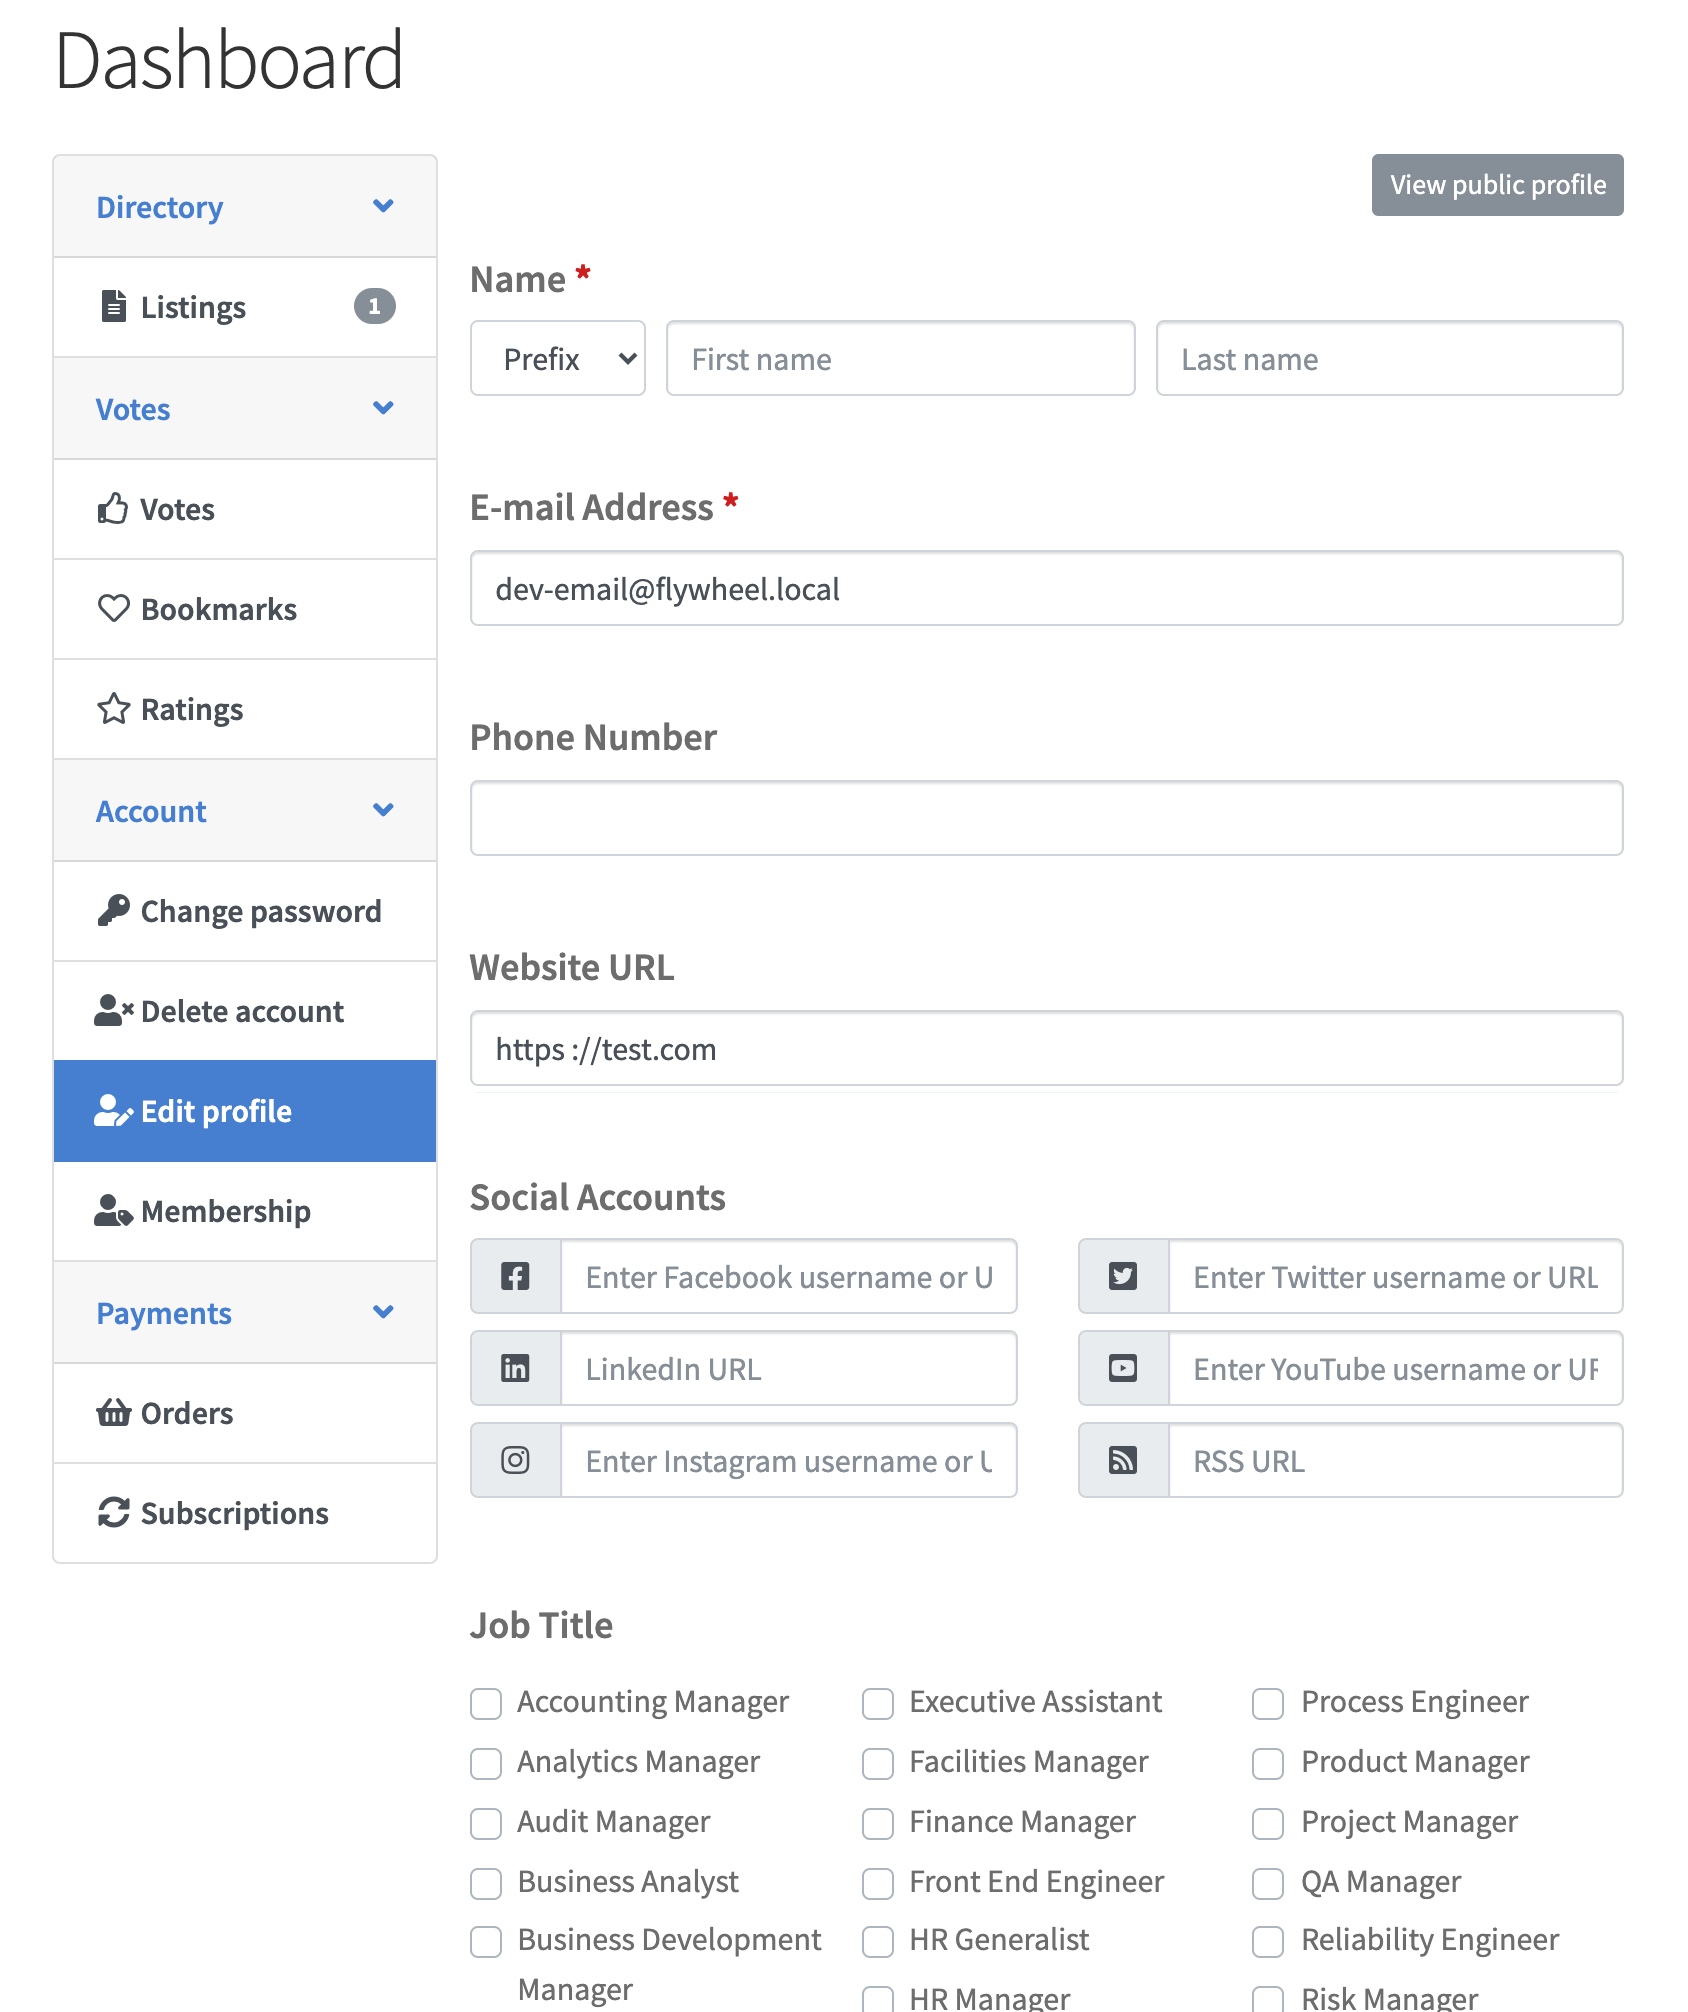
In order to let users edit their user profile from the frontend, make sure first that the frontend directory dashboard is enabled. Then, go to Directories -> Settings -> Dashboard -> Dashboard Settings -> DASHBOARD PANEL SETTINGS (ACCOUNT) -> Select pages and check the Edit Profile option.
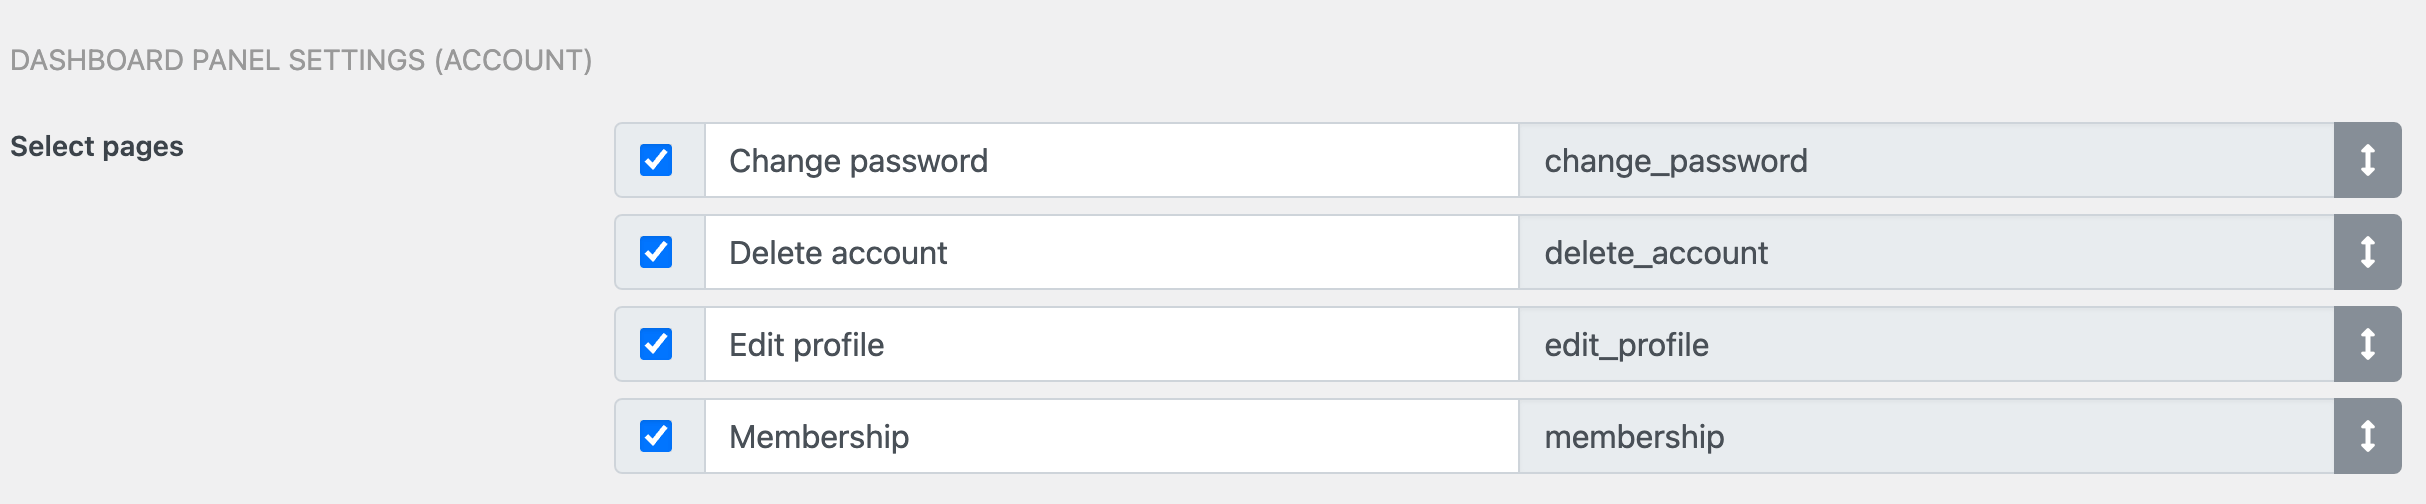
The edit profile page in the frontend directory dashboard should look like below.