Calendar Slots
By adding a Calendar Slot field, content items can be displayed in a calendar format.
Adding a Calendar Slot field
To enable calendar functionality, you must first add a Calendar Slot type field to your content type:
Navigate to Directories -> Your Directory -> Content Types and click Manage Fields for the desired content type (e.g., Listing).
Click the green Add Element (+) button and select Calendar Slot under the Field tab.
Enter a Label (e.g., Booking Slots or Event Schedule) and a Field name.
To enable booking features for the slots created with this field, switch on the Enable booking for slots option.
Click Add Element to save the field.
Adding calendar slots

Once the field is added, authors can define dates and times when adding or editing a listing:
One-time slots: Set Repeat to None, enter a specific date, and select the start/end times for a single occurrence.
Recurring slots: Select a Repeat type other than None and set up daily, weekly, monthly, or yearly recurrence rules.
Allow booking: For each individual slot, you can toggle whether users are permitted to submit bookings.
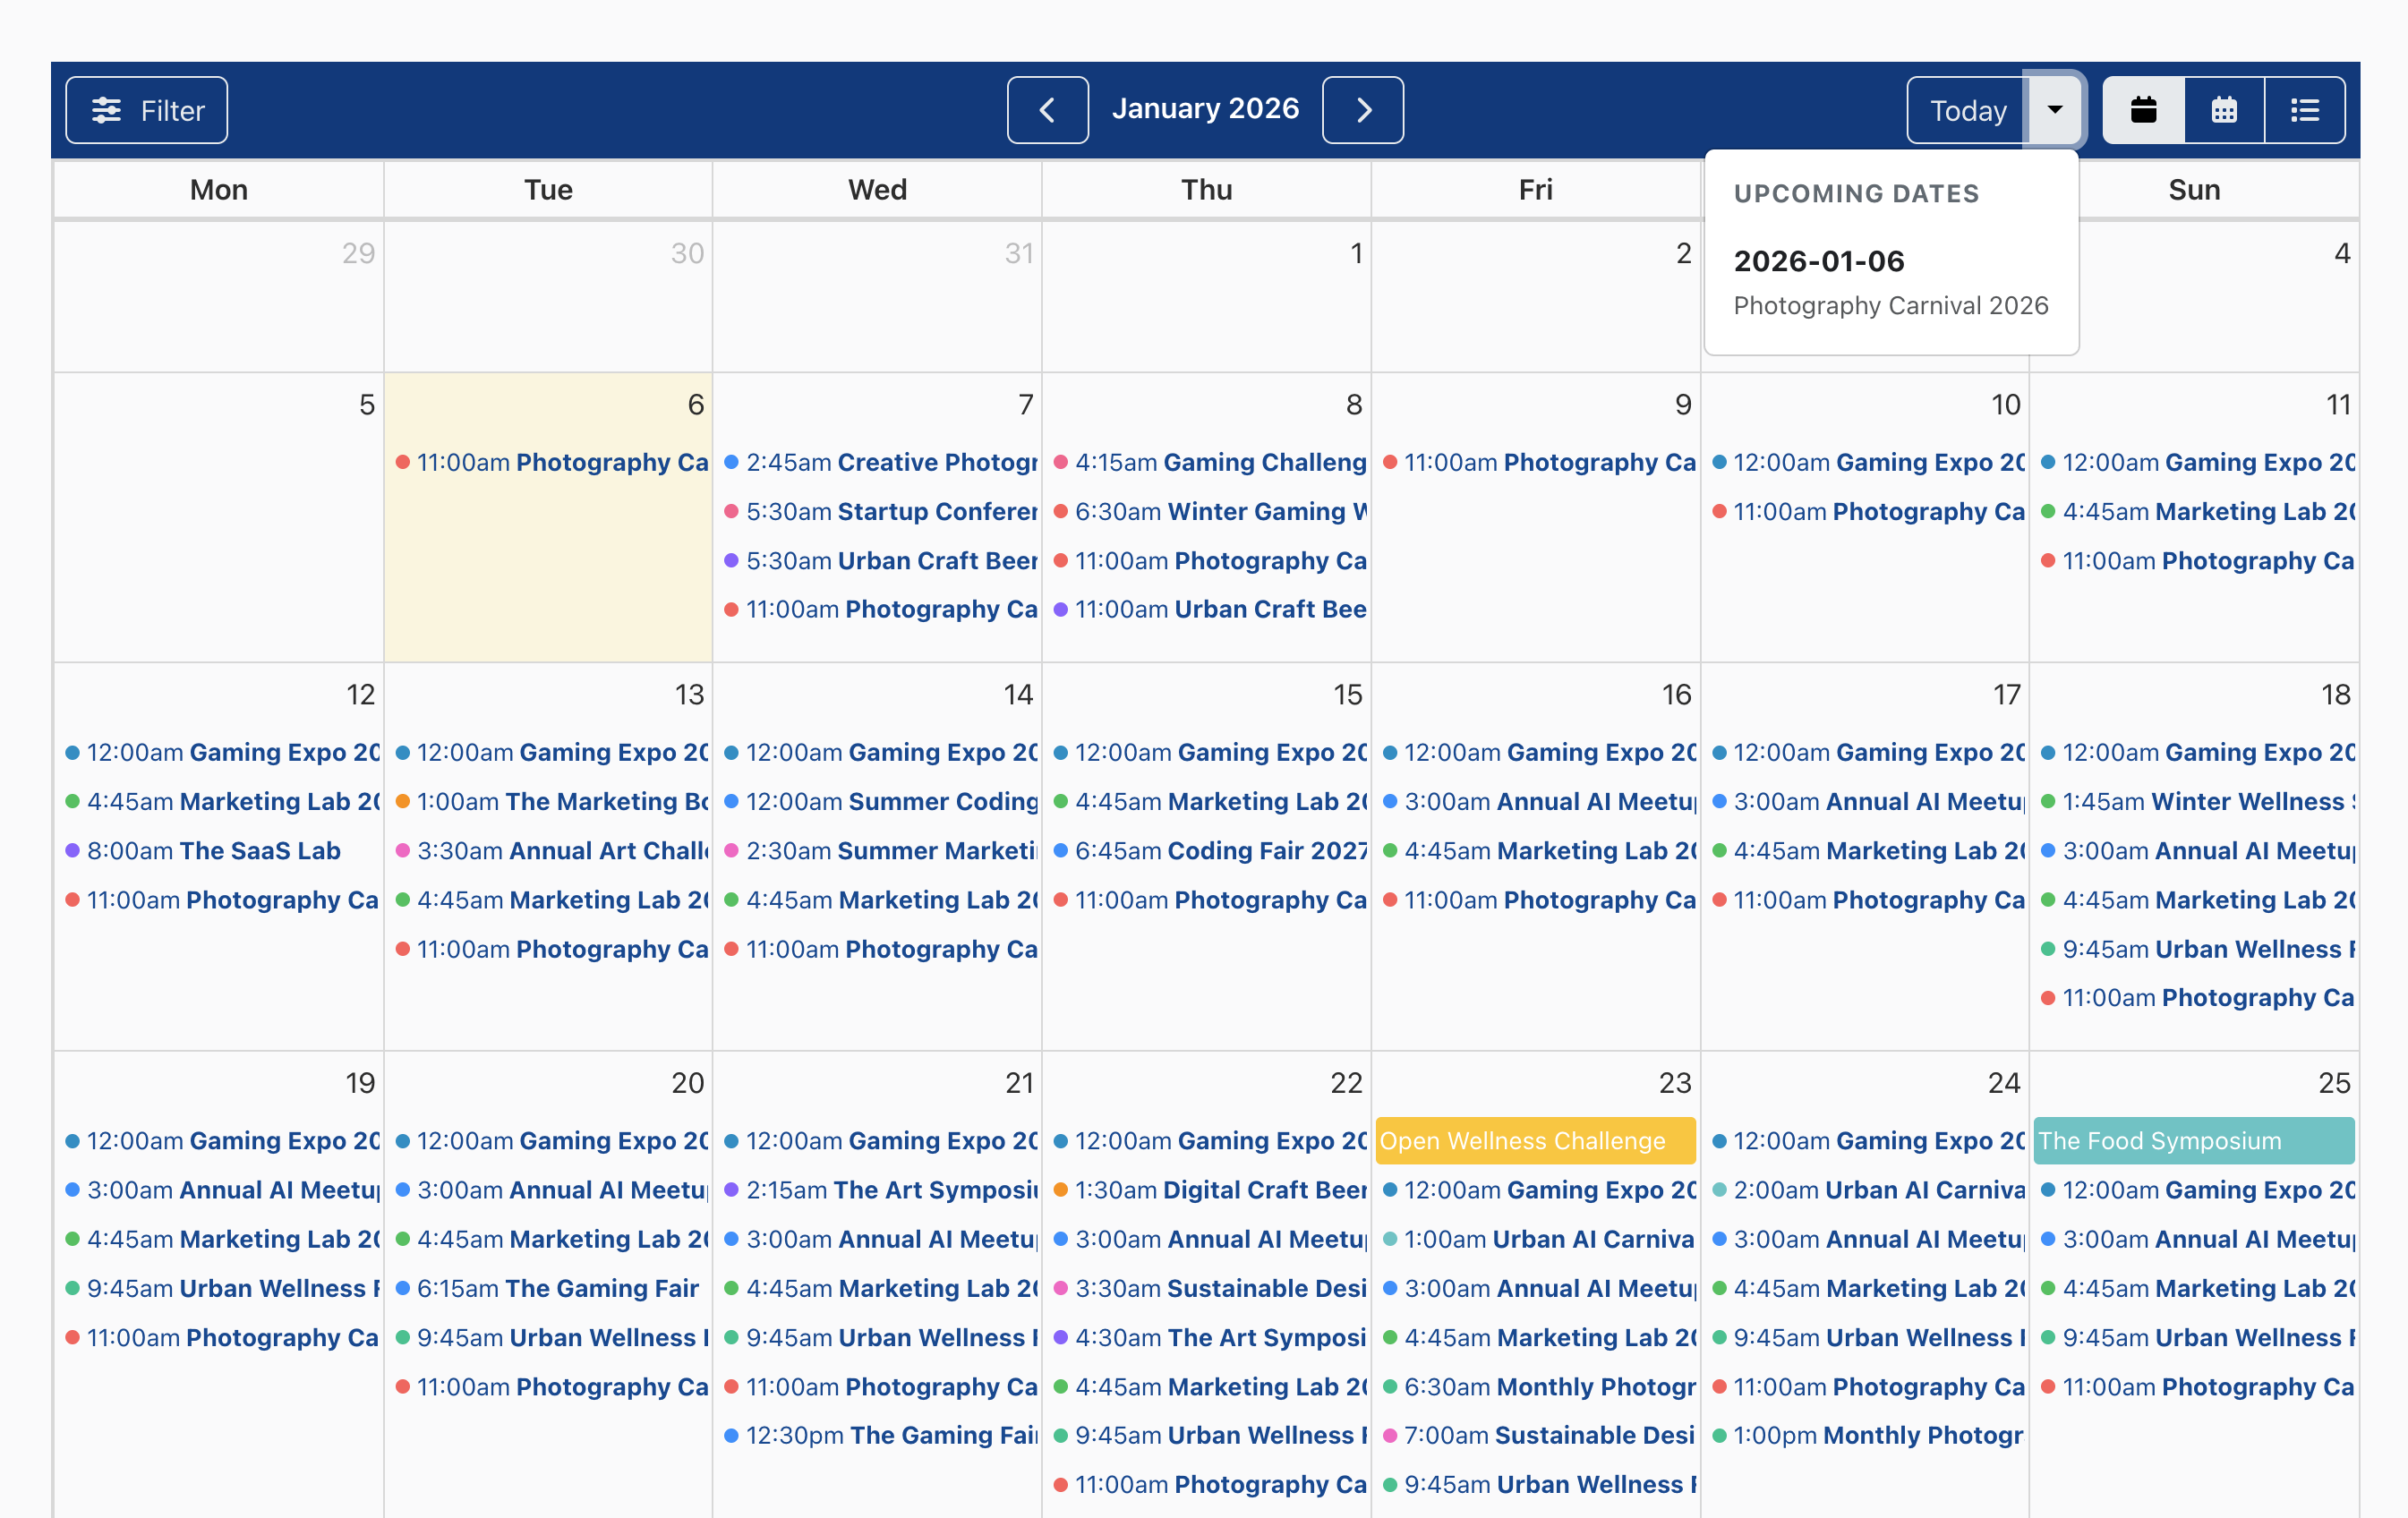
Displaying a calendar
Method 1: Displaying a calendar using a View
Note: Displaying a calendar via a View does not support booking functionality for individual slots. To enable booking options for bookable slots, please use Method 2 below.
Navigate to Directories -> Your Directory -> Content Types and click Manage Views for your desired content type (e.g., Listing).
Click Add View to open the popup window.
Select Calendar as the View mode.
Choose your field under Calendar slot field.
Click Add View in the popup window.
Use the generated shortcode to display the view on any page or within theme templates.
Method 2: Displaying a calendar on the detailed page
Navigate to Directories -> Your Directory -> Content Types and click Manage Displays for your desired content type (e.g., Listing).
Under the Detailed (or other) display tab, click the green Add Element (+) button which opens a popup window.
Select the Field tab and choose your calendar slot field.
Set the Field renderer to Calendar.
Configure additional display settings as needed and click Add Element in the popup window.
Occurrence generation
For recurring events, future occurrences are automatically generated in the background to maintain optimal site performance.
Background Processing: Directories Pro uses the Action Scheduler library to handle the generation of future dates. This prevents server timeouts when processing complex or high-volume recurring rules.
Batch Generation: Instead of creating all future dates at once, the system generates them in manageable batches.
Processing Time: If you have recently created or updated a recurring rule and do not see future dates beyond a certain period, please allow a few moments for the background process to complete. To monitor the progress, you can install the Action Scheduler plugin, which allows you to view the status of scheduled tasks directly from your WordPress dashboard.
To ensure occurrence generation works correctly, verify that the Generate Calendar Occurrences action is enabled under Directories -> Settings -> System -> Scheduled Action Settings -> Scheduled Actions.