Memberships
You can create paid membership plans to charge users for premium features on their user profiles, such as allowing extra fields and letting visitors contact the user through a contact form. You can also restrict certain content on your site to users with specific membership plans, as well as limit the number of content items that can be submitted from the frontend for each membership plan.
Enable memberships
Make sure the Directories - Payments plugin is installed. If not, install Directories - Payments.
Go to Directories -> Your user directory -> Settings and enable payments for your directory.
Create membership payment plans
After enabling memberships, you will need to create membership payment plans for users to purchase. Membership payment plans can be created in the same way as payment plans for listings in a regular directory.
If you are using the Default payment component, follow these steps:
Click Payment Plans under Users in the admin sidebar.
Click the Add Payment Plan button at the top of the page.
Enter the plan details.
Plan Duration Settings
- Duration in days – Set the number of days the membership plan will be associated with user accounts. If you wish to use the prorated discount feature, you should define a limited duration.
Field Settings
- Allowed fields – Select the fields enabled in profiles.
Bookings
- Enable bookings – Whether to allow users to be booked.
Contact Form
Enable contact form – Whether to allow visitors to send messages through a contact form.
Contact form recipients – Select the email addresses to which messages are sent.
Click Publish to add the membership plan.
If you are using the WooCommerce payment component, follow these steps:
Go to Products -> Add New.
Enter the name of your membership plan into the Product name field (required). Optionally, enter the description of your payment plan into the textarea field under the product name.
Select the Users - User (Base plan) product type option from the dropdown menu in the Product Data panel.
In the General tab, enter the Regular price and, optionally, the Sale Price if you wish to sell the membership plan at a discounted price.
In the Plan Features tab, configure features for the membership plan. For details on each setting, see step 3 above for the Default payment component.
Click Publish to add the membership plan as a WooCommerce product.
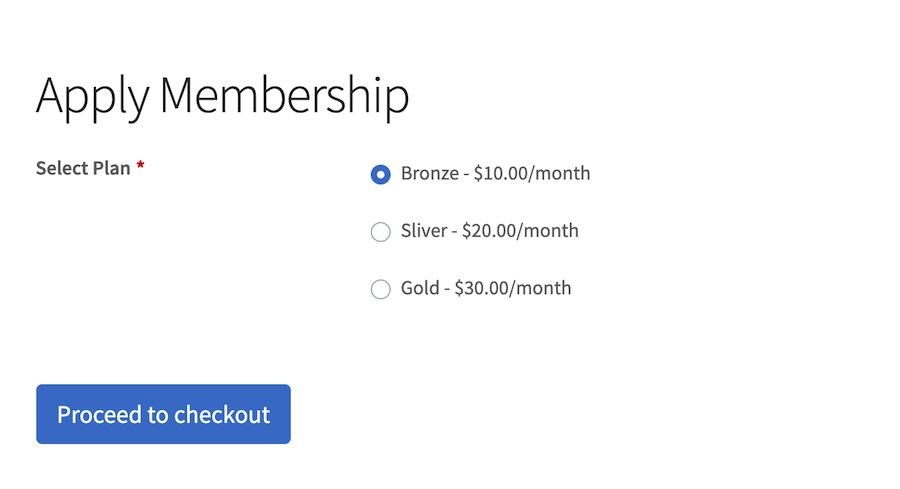
Set up apply membership page
You need to create an apply membership page where users can purchase membership payment plans.
Go to Directories -> Settings -> Pages and assign a page for Apply Membership if one is not already assigned.

Newly registered users will be redirected to this page after completing user registration.
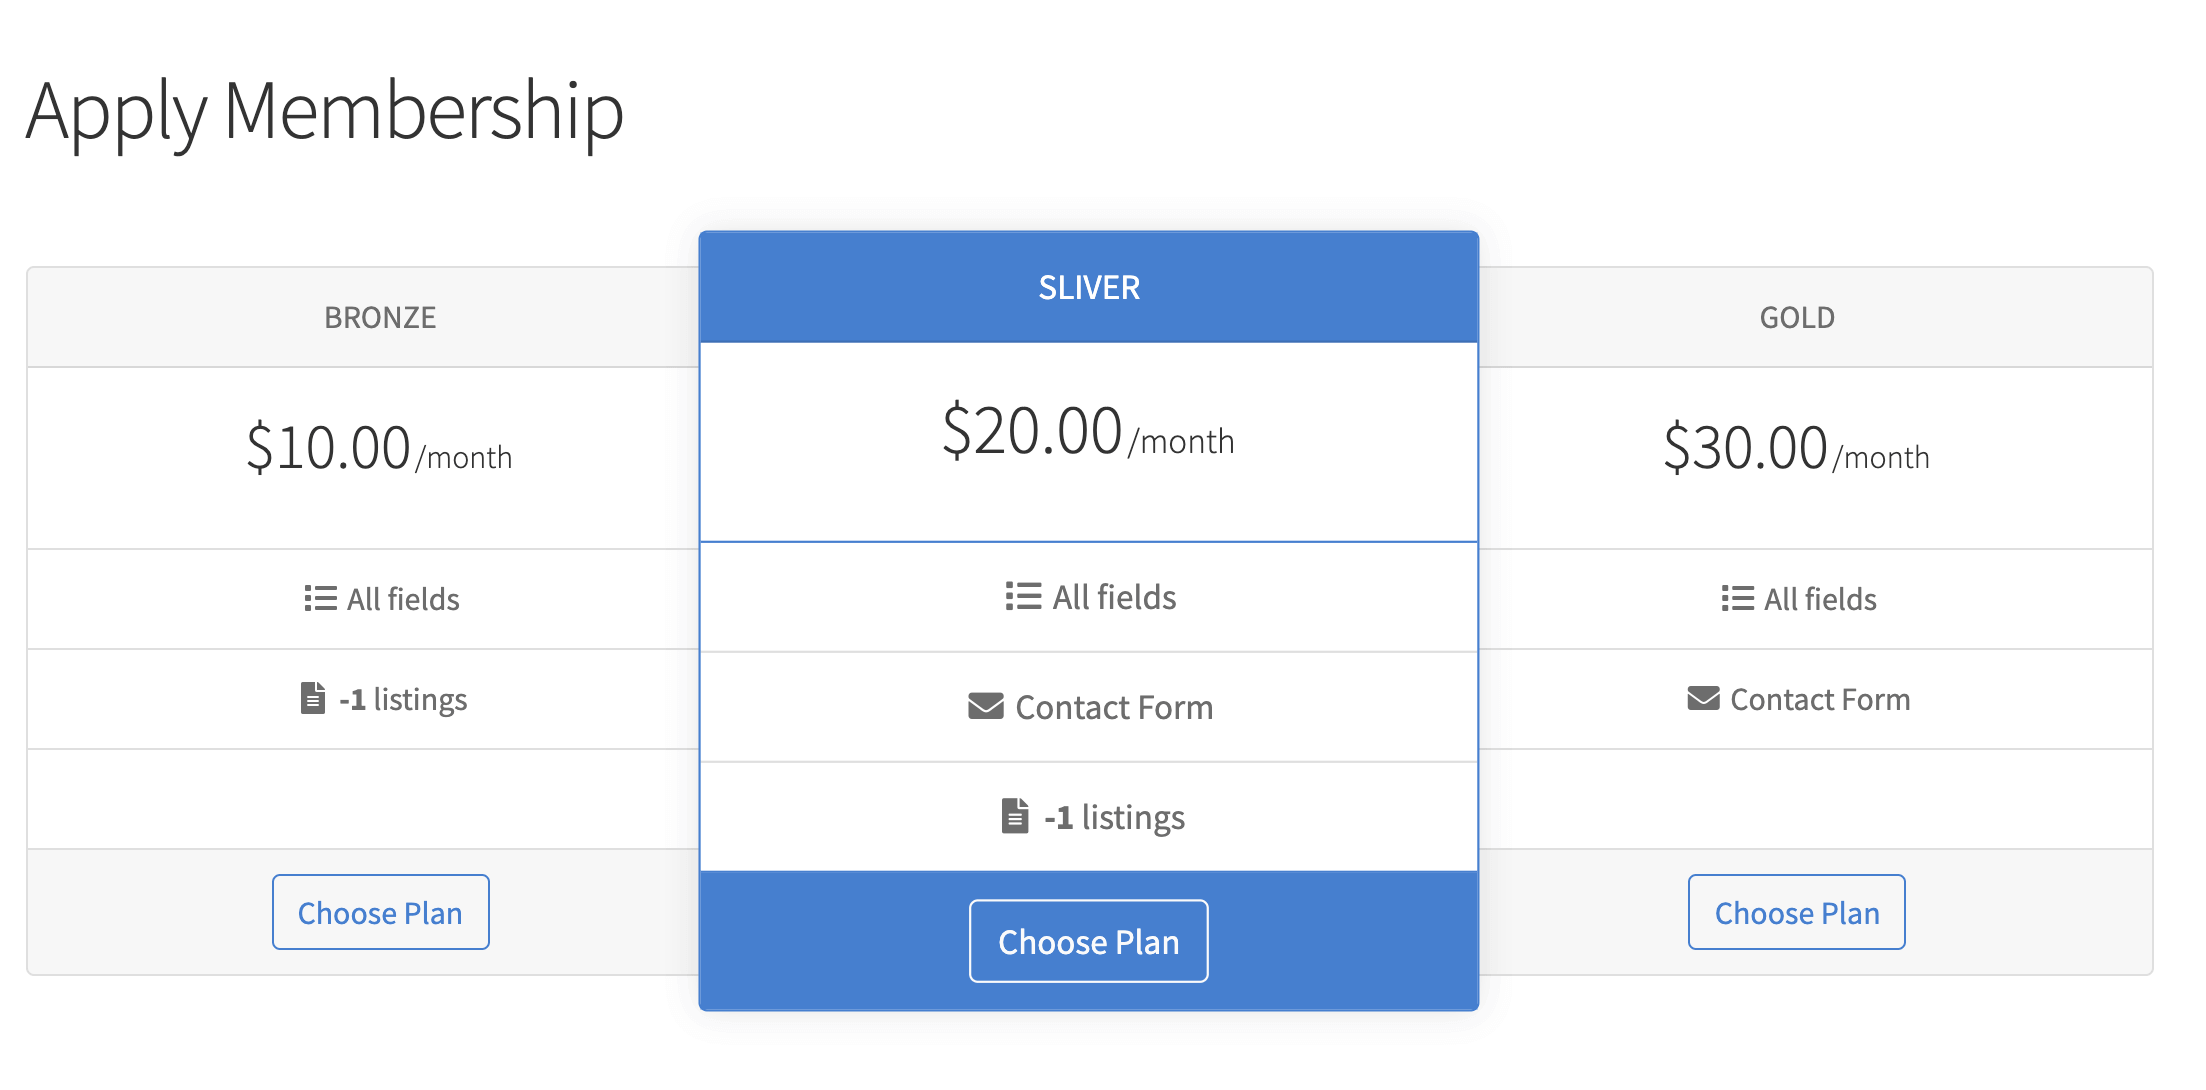
You can also enable the Display pricing table setting under Directories -> Settings -> Payment -> Payment Plan Settings to show a pricing table.
Existing users can go to the frontend directory dashboard and click the Apply Membership button on the Membership page under the Account panel, which will take them to the Apply Membership page.

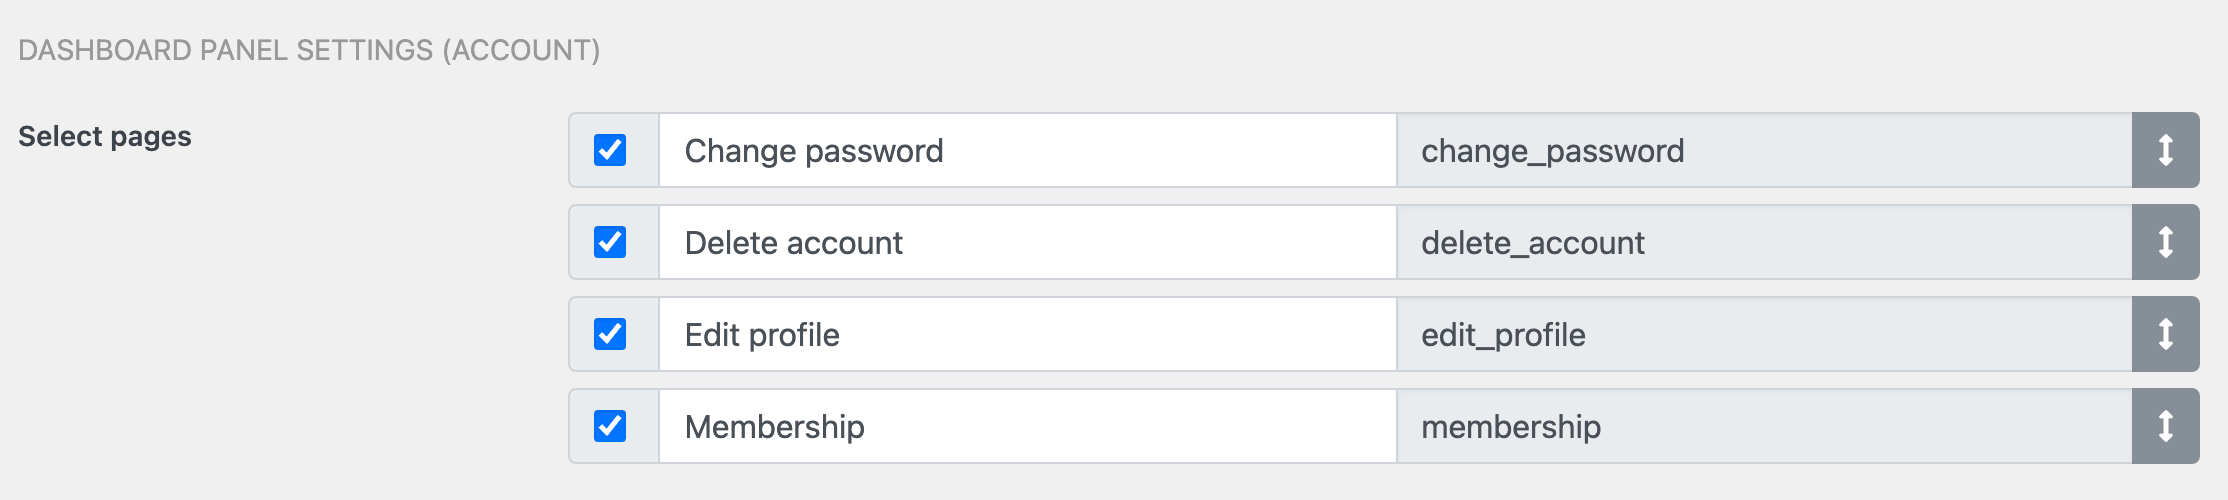
Make sure the Membership option is checked under Directories -> Settings -> Dashboard -> DASHBOARD PANEL SETTINGS (ACCOUNT) -> Select pages.
Users without any memberships
Users who do not have any membership plans assigned will have the default features applied. The default features can be configured from Directories -> Your user directory -> Content Types -> User -> Edit -> Payment -> Default Feature Settings. The features you can configure here are identical to those configured for membership plans.
Restricting content access
Restricting directory content
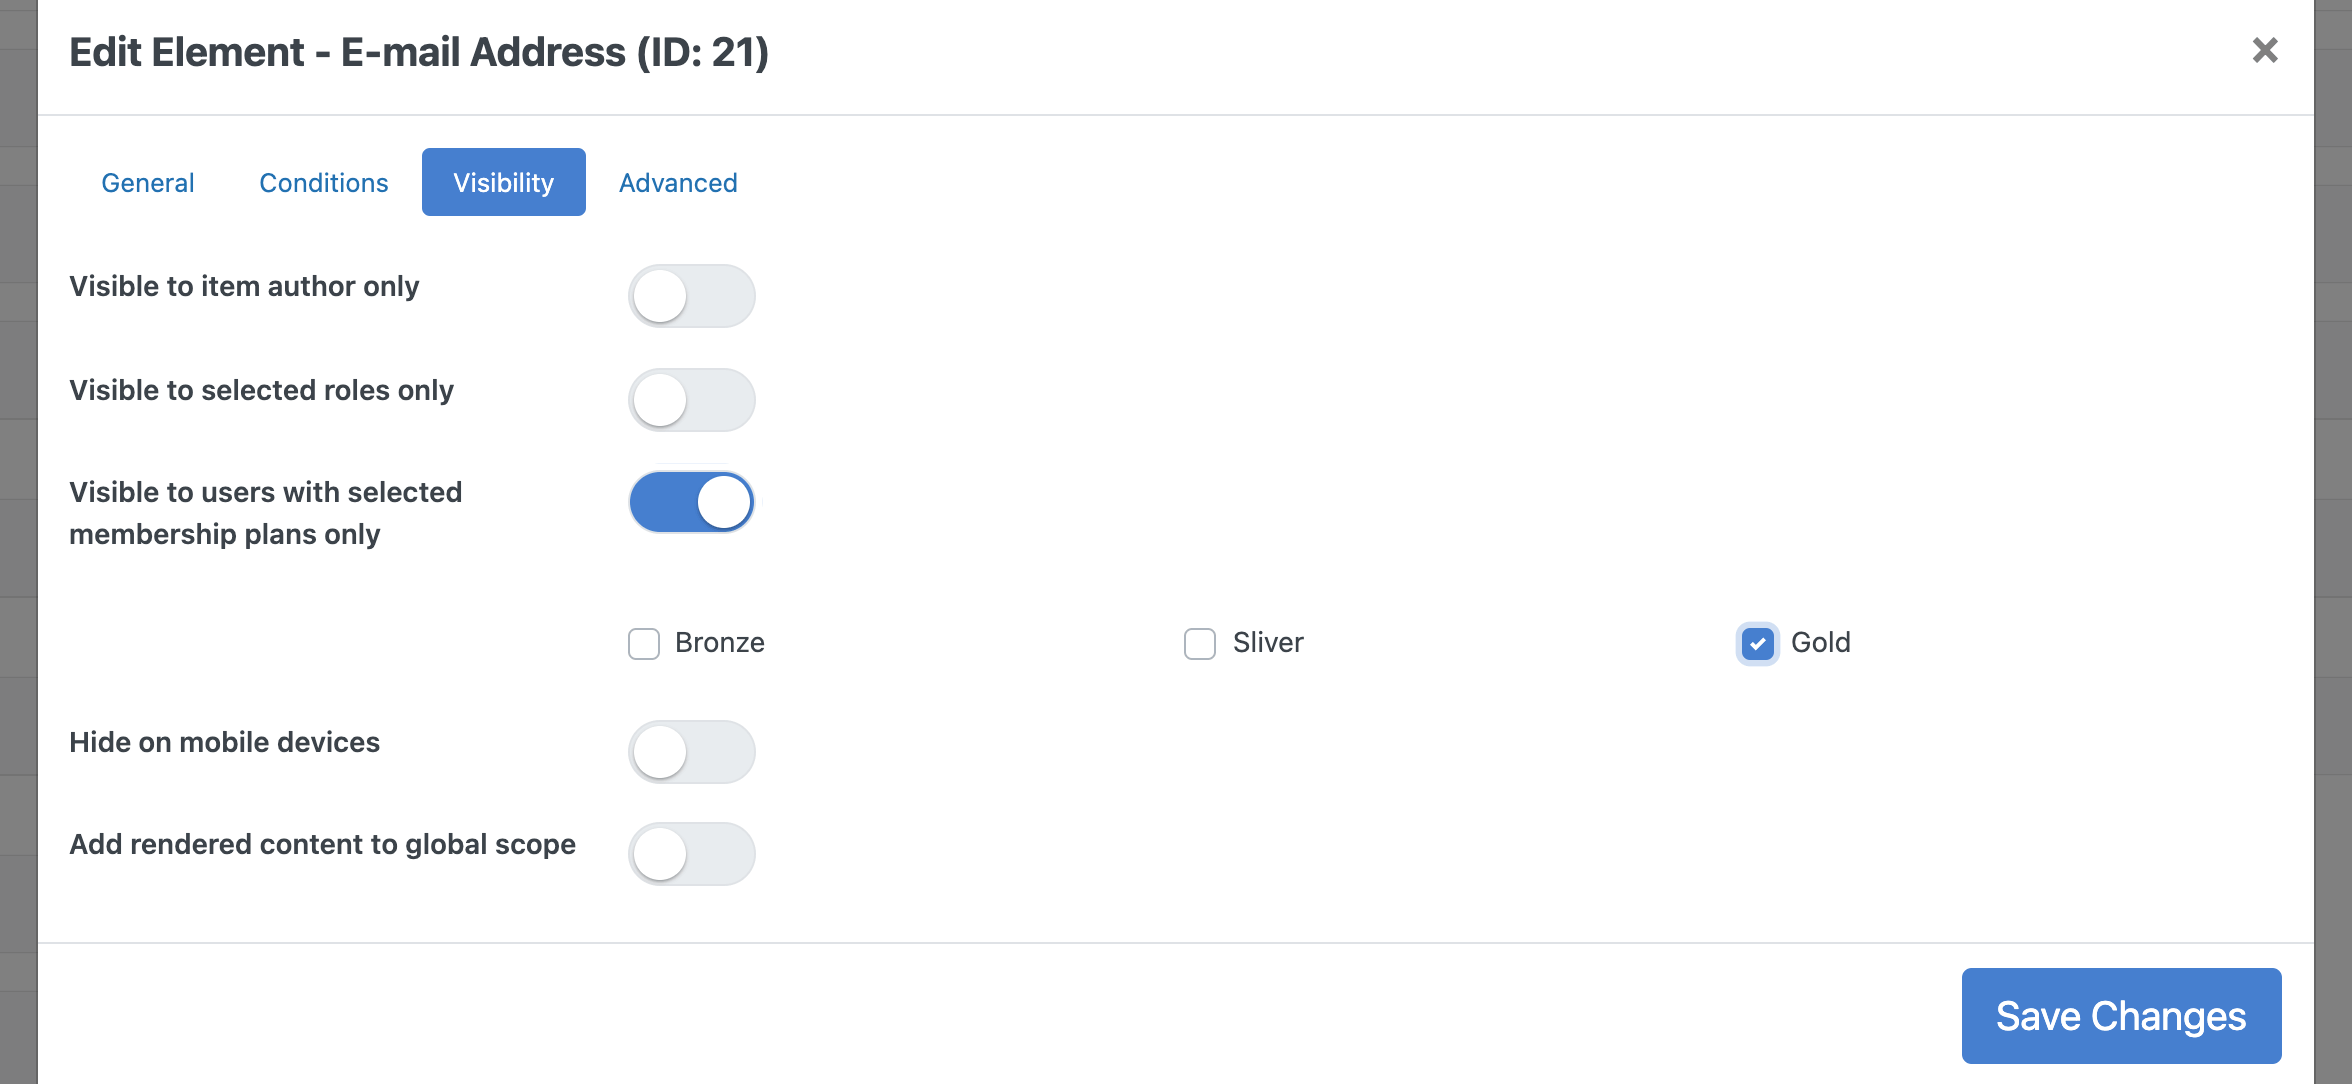
You can restrict content in your directory by configuring the visibility setting of each display element. For example, if you want users with a certain membership plan to be able to view the email address of each listing in your directory, go to Directories -> Your directory -> Content Types -> Listing -> Manage Displays and edit the display element for your email address field.

Click the Visibility tab, enable the Visible to users with selected membership plans only setting, and then select the membership plans you wish to allow.
Restricting non-directory content
The [drts-membership-restrict] shortcode allows you to restrict access to content outside your directory, such as pages or posts. For example:
[drts-membership-restrict]Place your content to restrict here.[/drts-membership-restrict]
The above will show the content between the shortcode tags only to users who have a valid membership.
If you wish to restrict the content to users with certain membership plans only, you can use the plans parameter. For example:
[drts-membership-restrict plans="silver,gold"]Place your content to restrict here.[/drts-membership-restrict]
The above will show the content between the shortcode tags to users who have a valid Silver (silver) or Gold (gold) membership. You can also specify membership plans by plan IDs instead of plan names.
Restricting frontend submission
You can limit the number of content items, such as listings, that users can submit from the frontend based on their membership payment plan. This can be configured in the submission restriction settings under Directories -> Settings -> Frontend Submit -> Submission Restriction Settings. Select the Restrict by user membership option for the Restriction type setting.
Additionally, you can assign a feature level to content items submitted by users for each membership payment plan. This is optional if the content items already have payment plans configured. In such cases, content items will inherit a feature level (or custom features) based on the feature settings of the assigned payment plan.