Preventing Spam with CAPTCHA
CAPTCHA is used to secure websites from spammers, hackers, and other malicious actors by preventing spam bots from submitting forms.
Directories Pro supports the following CAPTCHA methods on your site:
reCAPTCHA v3 – reCAPTCHA is a free service from Google that helps protect websites from spam and abuse. reCAPTCHA v3 allows you to verify if an interaction is legitimate without any user interaction.
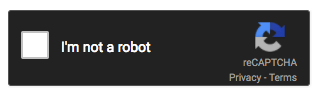
reCAPTCHA v2 (Checkbox) – An older version of Google's reCAPTCHA service which shows an "I'm not a robot" checkbox that requires the user to click to confirm they are not a robot.
Cloudflare Turnstile – Turnstile is a free CAPTCHA alternative from Cloudflare that helps protect websites from bots. It verifies visitors in the background without showing a challenge most of the time.
hCaptcha – hCaptcha is a free service that protects websites from spam and bots. It sometimes asks users to solve simple image challenges to prove they are human.
Really Simple Captcha – Uses the Really Simple Captcha plugin, which requires the user to enter random characters to verify they are human.
Setting up CAPTCHA
Follow the instructions below to set up CAPTCHA:
Go to the WordPress administration dashboard and click Directories in the admin sidebar.
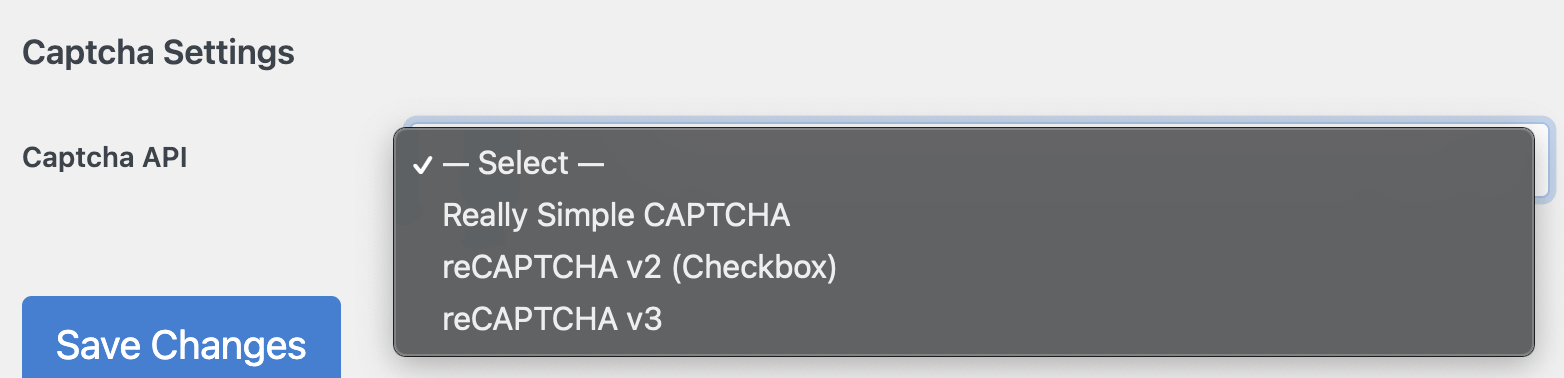
Click the Settings tab, then the Security sub-tab. Scroll down to the Bot Protection Settings section, enable the Enable bot protection setting, and choose an API for Bot Protection API that you wish to use on your site.
Follow the instructions below depending on the API you selected.
reCAPTCHA v3
Site key / Secret key – Generate Google reCAPTCHA API keys for your site and enter them into the text fields. Make sure to select reCAPTCHA v3 as the type of reCAPTCHA when registering your site.
reCAPTCHA score threshold – Set the minimum score required to pass reCAPTCHA. If you are unsure, leave it at the default score (0.5). For more details, see https://developers.google.com/recaptcha/docs/v3#score.
reCAPTCHA v2 (Checkbox)
Site key / Secret key – Generate Google reCAPTCHA API keys for your site and enter them into the text fields. Make sure to select reCAPTCHA v2 ("I'm not a robot" Checkbox) as the type of reCAPTCHA when registering your site.
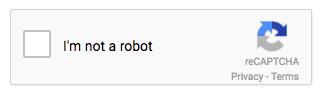
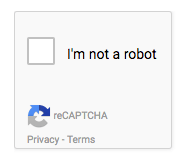
reCAPTCHA size – Select the display size of the CAPTCHA field.
Normal:
Compact:
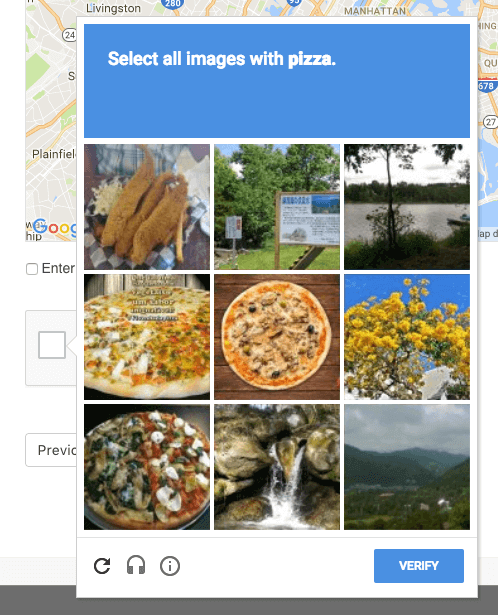
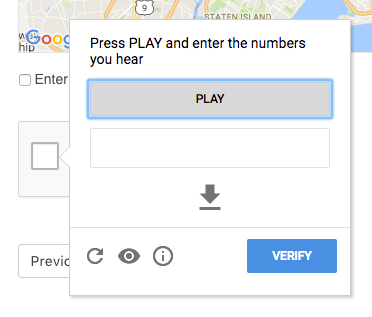
reCAPTCHA type – Select the type of CAPTCHA to serve. Note that the challenge popup is displayed only when the user stays on the page for more than 5 minutes.
Image:
Audio:
reCAPTCHA theme – Select the color theme of the CAPTCHA field.
Light:
Dark:
Cloudflare Turnstile
Site key / Secret key – Enter API keys obtained from Cloudflare.
Display size – Select the display size of the CAPTCHA field.
Normal:
Flexible:
Compact:
Theme – Select the color theme of the CAPTCHA field.
Dark:
Light:
hCaptcha
Site key / Secret key – Enter API keys obtained from hCaptcha.com.
Display size – Select the display size of the CAPTCHA field.
Normal:
Compact:
Theme – Select the color theme of the CAPTCHA field.
Dark:
Light:
Really Simple Captcha
Text color – Select the color of the text used in the captcha image.
Background color – Select the background color of the captcha image.
Press Save Changes.
Adding CAPTCHA to forms
Follow the steps below to add CAPTCHA to the listing submission form on the add listing page.
Log in to your website if you are not already logged in, and go to the WordPress administration dashboard.
Click Directories in the admin sidebar.
Under the All Directories tab, click the gear icon in the row of the directory you want to edit.
Under the Content Types tab, click the dropdown button in the Listing (or Review or Claim) row and then click Manage Fields.
Click the green Add Element button with a plus sign at the bottom of the page.

In the popup window, click the Utility tab, hover over the reCAPTCHA element, and click it.
Leave the settings as-is, and press the Add Element button at the bottom of the popup window to add the reCAPTCHA element.
Adding CAPTCHA to login/registration forms
If custom login/registration forms are enabled, CAPTCHA can also be added to those forms. See User Login/Registration and Guest Posts for more details.
Force disable CAPTCHA
If you have enabled CAPTCHA in your login form and for some reason CAPTCHA stops working and you are unable to log in, you can add the following line of code to the functions.php file of your theme to force disable CAPTCHA:
add_filter('drts_captcha_disable', '__return_true');