Comparing Listings
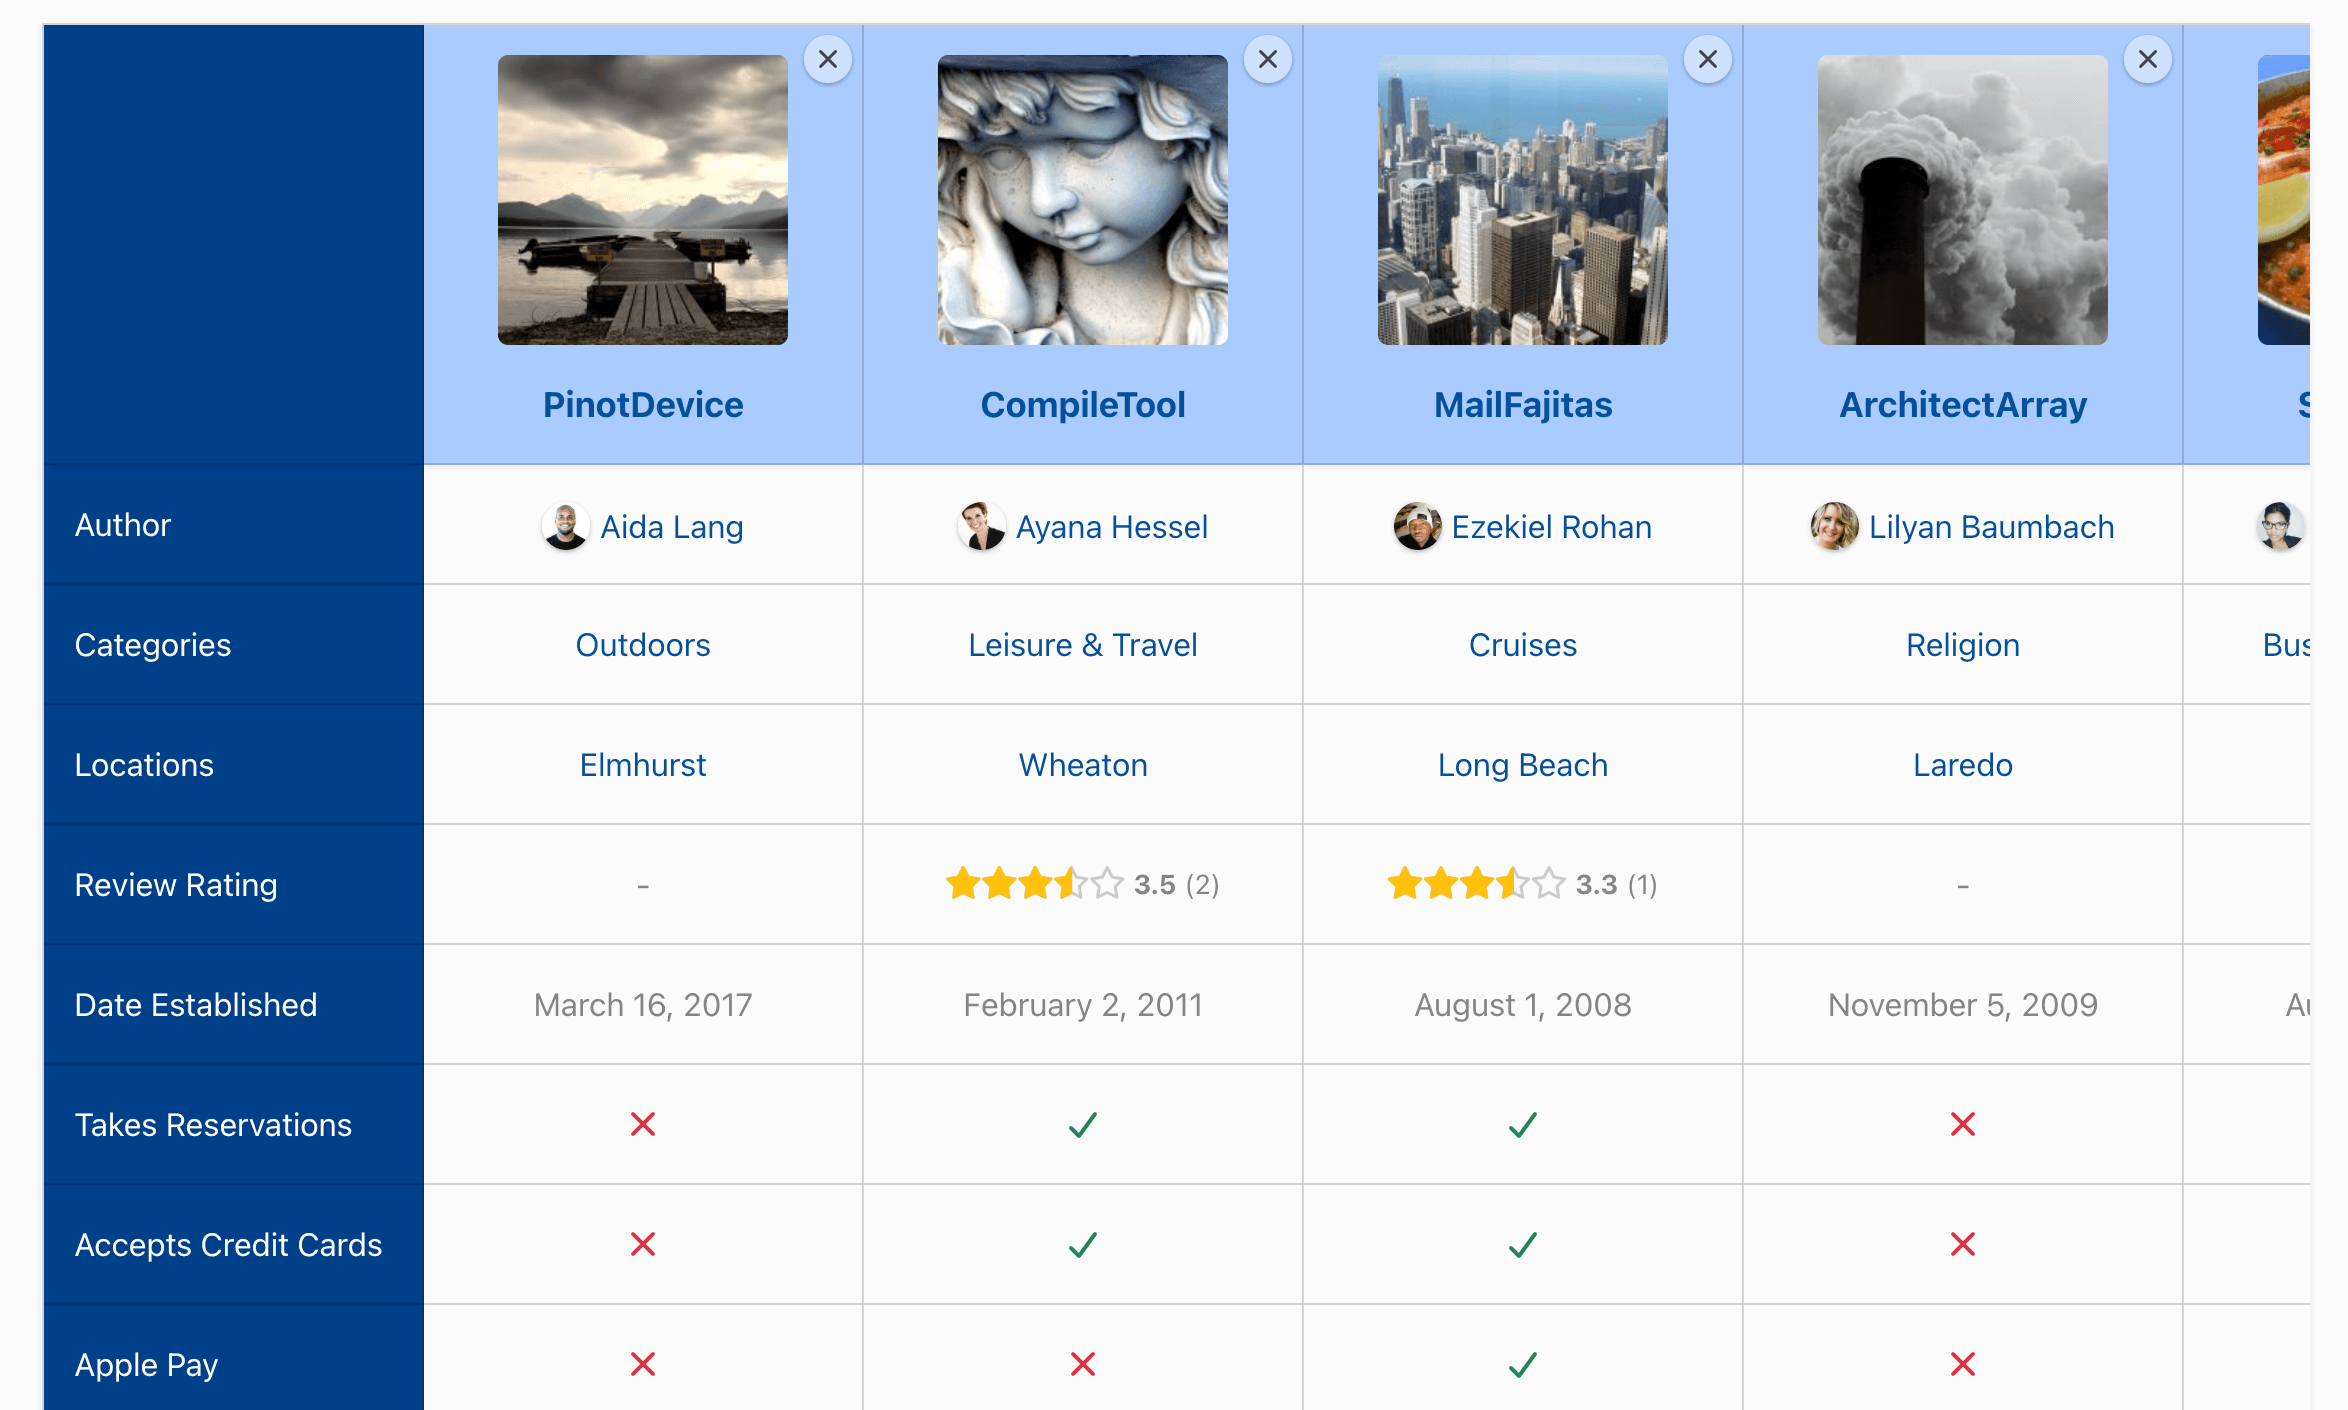
The comparison feature allows users to compare listings side-by-side in a grid layout. Administrators can enable this feature per directory and configure specific fields (e.g., Price, Size, Location) to be displayed in the comparison table. It also includes sticky headers for easy viewing and responsive design for mobile devices.
Enabling comparison
You can enable or disable the comparison feature for each directory individually. This allows you to have comparison functionality for specific content types (e.g., Places, Products) while keeping it disabled for others (e.g., Events, Members).
Login to your website if not yet logged in and go to the WordPress administration dashboard.
Click Directories in the admin sidebar.
Under the All Directories tab, click the edit button (gear icon) in the row of the directory you want to edit.
Under the Settings tab , scroll down the page and select Yes for Enable comparison.
Scroll further down and click Save Changes.
Adding compare buttons to displays
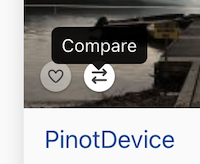
Users add listings to the comparison tray using a button displayed for each listing on the directory page or on the single listing page. To add the button, follow the steps below:
Login to your website if not yet logged in and go to the WordPress administration dashboard.
Click Directories in the admin sidebar.
Under the All Directories tab, click the directory you want to edit.
Under the Content Types tab, click the dropdown button in the Listing content type row and select Manage Displays.
To add a compare button to the single listing page:
Click the Detailed sub-tab.
Edit an existing Button display element (or add a new one), and check Compare button under the Select buttons setting.
To add a compare button to each listing on the directory page:
Click the Summary tab.
You have two options for displaying the button:
- Option A (Overlay): To display the button over the listing content, edit the Columns (or Column) display element, enable the Show overlay buttons setting, and check the Compare button option.
- Option B (Standard Button): To display a standard button, add or edit a Button display element and check Compare button under the Select buttons setting.
Settings
You can configure the layout and behavior of the comparison table settings for each content type.
Go to Directories -> All Directories dashboard.
Select the Content Types option from the dropdown menu for your directory.
In the Listing content type row, click the Edit button.
Click the Comparison tab.
Image Field - Select the image field (e.g., Photos) to display at the top of the comparison table for each listing.
Image size - Select the source image size to load.
Image width - Set the display width of the image in pixels.
Fields to compare - Select the fields to include as rows in the comparison table. You can drag and drop the fields to reorder them.
Maximum items to compare - Set the maximum number of listings that users can add to the comparison tray.
Tip: We recommend setting this to 3–5 items to ensure the table remains readable on smaller screens.
Label column width - Set the width of the first column (field labels) in pixels.
Item column width - Set the width of the column for the compared items in pixels.
Highlight differences - Highlight rows that contain different values between compared items.
Highlight color - Set the color used to highlight differences.
Open comparison page in a new tab - Whether to open the comparison page in a new browser tab when the compare button in the comparison tray is clicked.