Dummy Content
You can generate dummy content for your directory. You can generate not only listings or reviews but also categories, locations, and tags. You can also generate content for any custom field. It is a useful tool to quickly preview how your directory looks with actual content.
1. Set up categories, locations, and tags
If your directory currently does not have categories, locations, and/or tags set up, you can do so by importing demo content available.
Note: We will use the demo content included with Directories Pro instead of generating them for more realistic data.
Select Categories (or Locations or Tags) under your directory menu in the admin sidebar.
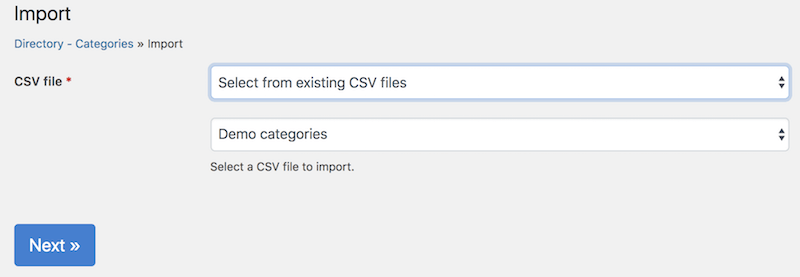
Click the Import button at the top of the page.
Select Select from existing CSV files for CSV File and then select Demo categories (or Demo locations for locations or Demo tags for tags) and then click Next.
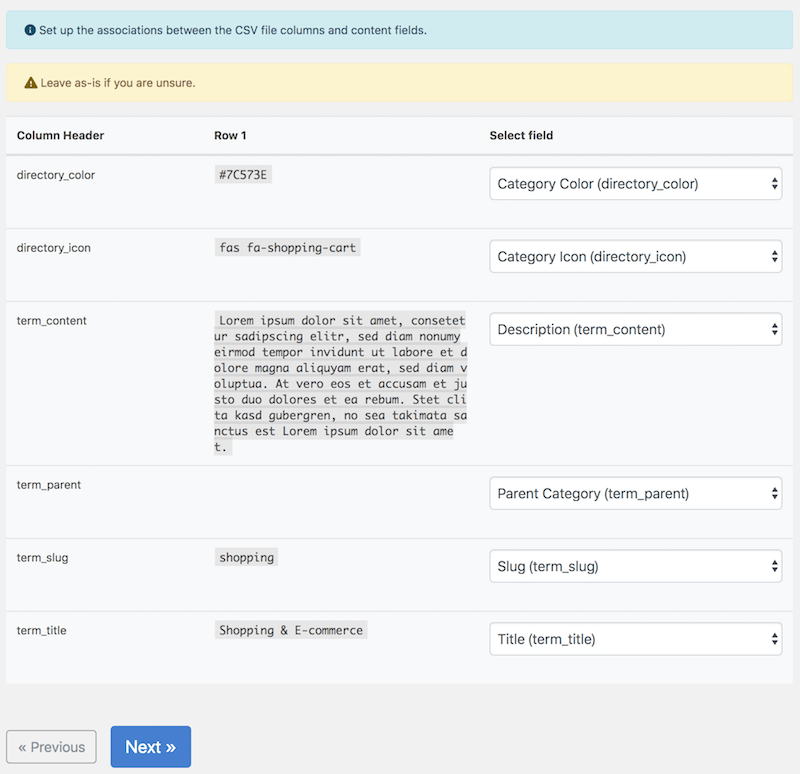
Select the fields to import. You can leave the settings as is and click Next.
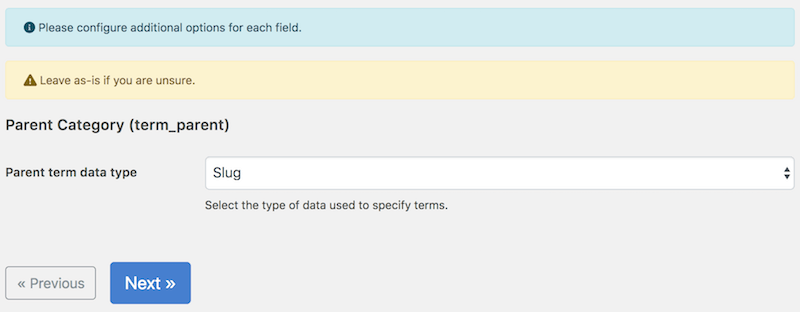
Configure fields to import. You can leave the settings as is and click Next.
This is the final page before import:
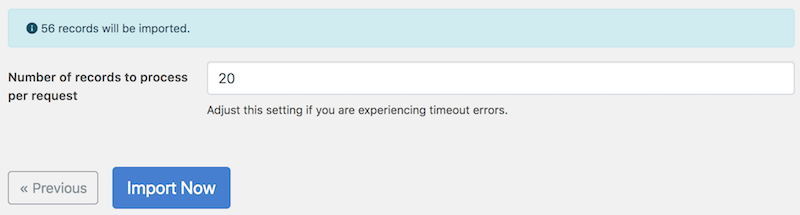
- Number of items to process per request - The import process is triggered through AJAX requests. Set the number of content items that are imported in each request. If you are unsure, leave it as is.
When you are ready, click Import Now. You will see real-time progress of what is imported and, if any, failures.
2. Generate dummy listings
Select All Listings under your directory menu in the admin sidebar.
Click the Generate button at the top of the page.

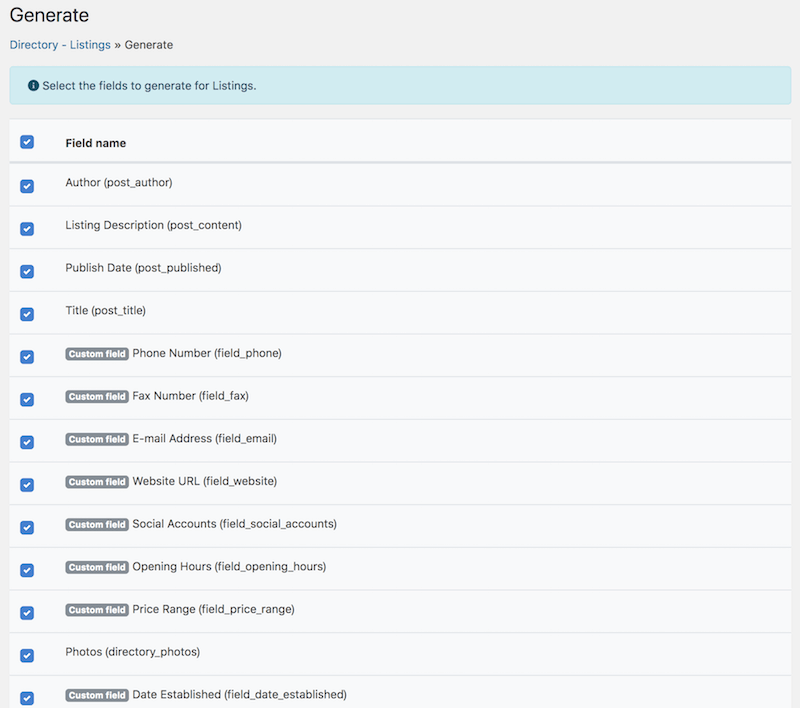
Select the fields to generate by checking the checkboxes. If you are unsure, it is usually safe to leave them as is. Click Next to proceed to the next step.
Depending on the fields selected, additional settings that can be configured before generating listings are displayed.
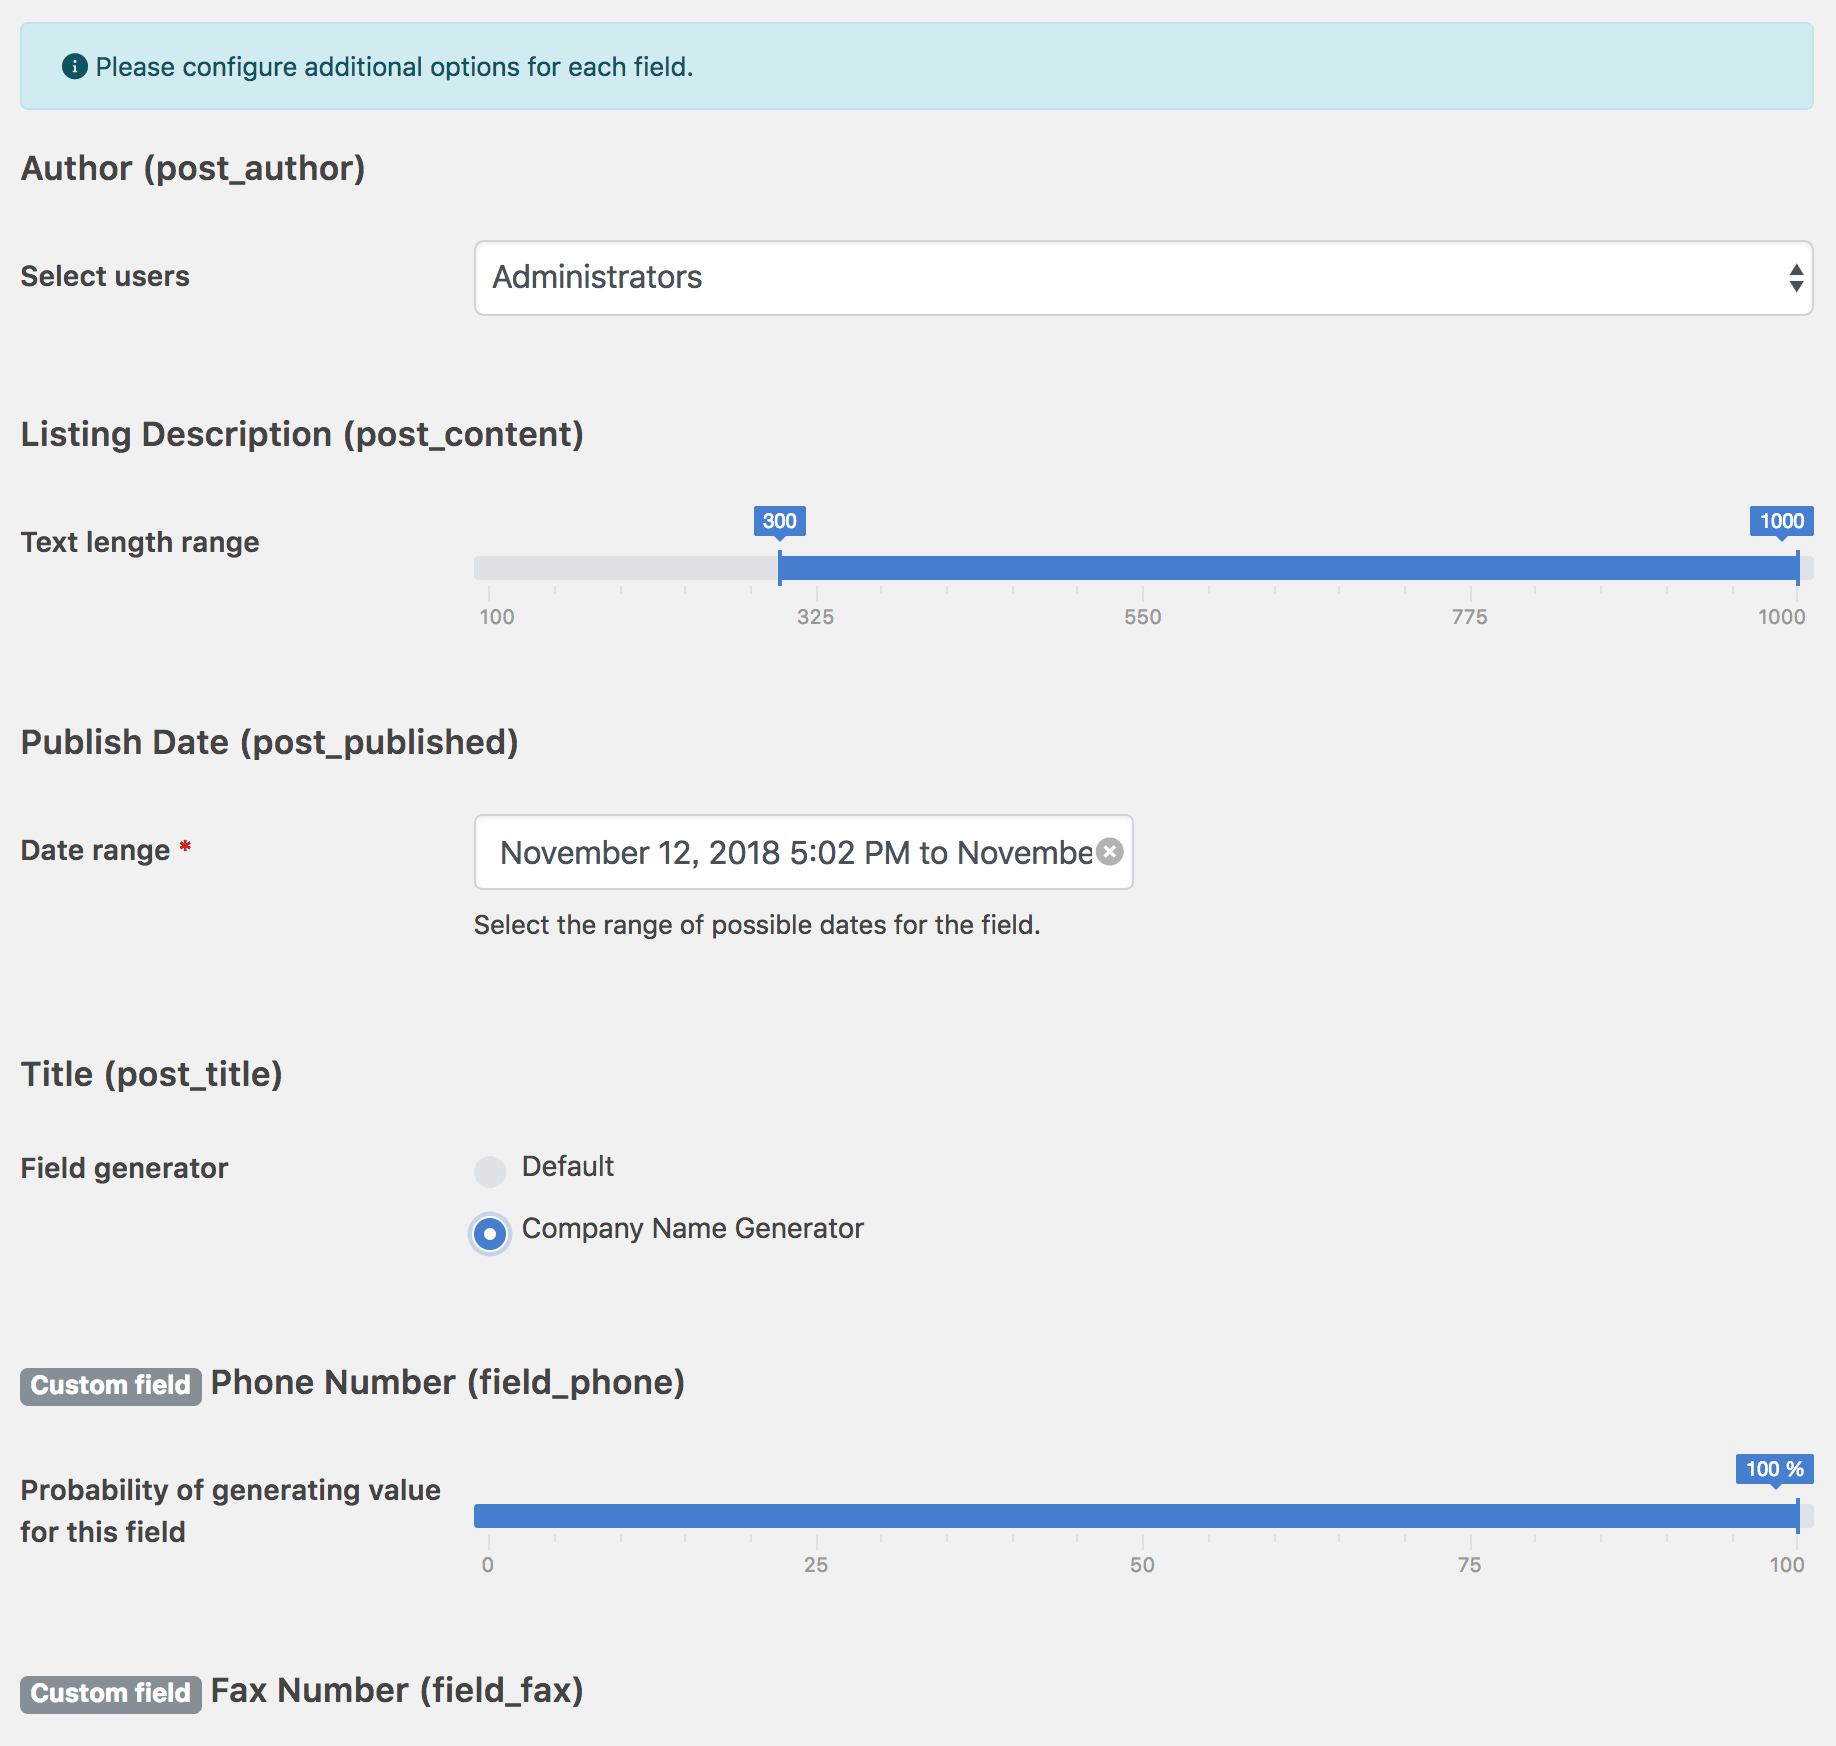
Here are some of the settings:
Title (post_title)
Field generator
Default - Generates random phrases and set them as the listing title.
Company Name Generator - Generates fake company names and set them as the listing title.
Photos (directory_photos)
Field generator
Default - Choose photos to be used as listing photos from the WordPress media manager.
Picsum Photo Generator - Downloads royalty free photos from https://picsum.photos/ and use them as listing photos.
Location (location_address)
Locations
Random - Randomly fetch locations set up in your directory and generate lat/lng coordinates within the proximity of those locations. Recommended if you already have locations set up in your directory.
Enter new location - Enter a location address (e.g. USA, California, Tokyo, etc.), which will be then used to generate lat/lng coordinates around that area.
Select manually - Manually select one or more locations from locations setup in your directory and generate lat/lng corrdinates within the proximity of those locations.
Note: Any of the options above require a valid geocoding provider configured in the map settings (see Configure Map Libraries) if you wish to automatically fetch lat/lng coordinates for each location generated.
Reverse geocode lat/lng coordinates generated for each item - Whether or not to use the geocoding API to fetch a real address for lat/lng coordinates generated for each listing. Requires a valid geocoding provider configured in the map settings (see Configure Map Libraries).
If you are unsure about these settings, it is usually safe to leave them as is.
Click the Next button to proceed to the final step:
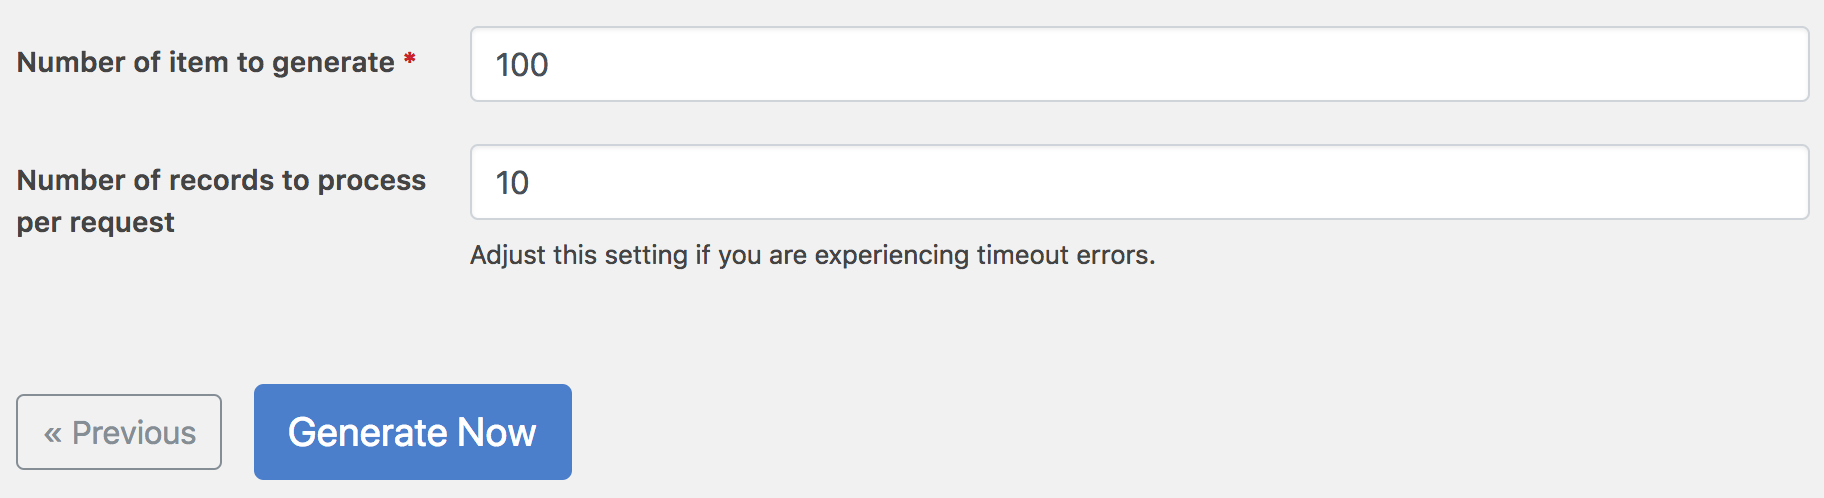
Number of items to generate - Enter the number of listings to generate.
Number of items to process per request - The generation process is triggered through AJAX requests. Set the number of listings that are generated in each request. If you are unsure, leave it as is.
When you are ready, click Generate Now.
Now, sit back and relax. You will see real-time progress of what is generated and, if any, failures.
This may take a while (up to several minutes per request) to complete, depending on the fields that you selected to generate and the settings of each field.