Preventing Spam with reCAPTCHA
reCAPTCHA is a free service provided by Google which lets you embed a CAPTCHA field to forms on your site to stop posts submitted by robots or abusive scripts.
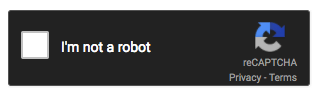
Note: Directories Pro supports reCAPTCHA v3 and reCAPTCHA v2 ("I'm not a robot" Checkbox).
Setting up reCAPTCHA
Follow the instructions below to setup reCAPTCHA:
Generate Google reCAPTCHA API keys for your site. Make sure to select reCAPTCHA v3 or reCAPTCHA v2 ("I'm not a robot" Checkbox) as the type of reCAPTCHA when registering your site. If you are unsure, we recommend choosing reCAPTCHA v3.
Go to the WordPress administration dashboard and click Directories in the admin sidebar.
Click the Settings tab, then the Frontend Submit sub-tab, and scroll down to reCAPTCHA API Settings section:
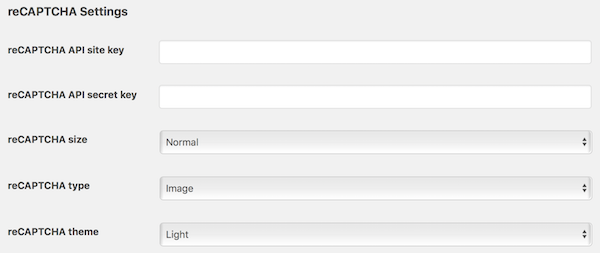
reCAPTCHA API version - Select the version of reCAPTCHA API that you have chosen in step 1.
reCAPTCHA API site/secret key - Enter the API keys generated in step 1.
reCAPTCHA score threshold (v3 only) - Set the minimum score required to pass reCAPTCHA. If you are unsure, leave it to the default score (0.5). For more detail, see https://developers.google.com/recaptcha/docs/v3#score.
reCAPTCHA theme (v2 only) - Select the color theme of the CAPTCHA field.
Light:

Dark:
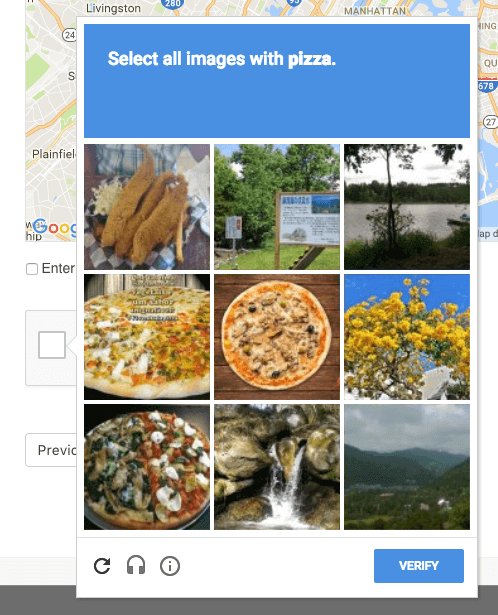
reCAPTCHA type (v2 only) - Select the type of CAPTCHA to serve. Note that the challenge popup is displayed only when the user stays on the page for more than 5 minutes.
Image:
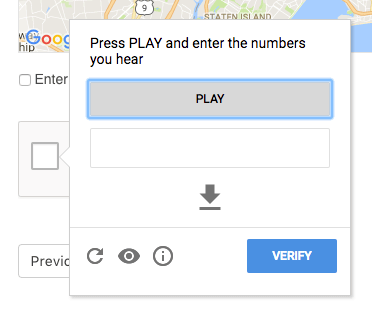
Audio:
reCAPTCHA size (v2 only) - Select the display size of the CAPTCHA field.
Normal:
Compact:
Scroll down the page and press Save Changes.
Adding reCAPTCHA to forms
Follow the steps below to add reCAPTCHA to the listing submission form on the add listing page.
Login to your website if not yet logged in and go to the WordPress administration dashboard.
Click Directories in the admin sidebar.
Under the All Directories tab, click the gear icon in the row of the directory to edit.
Under the Content Types tab, click the dropdown button in the Listing row and then click Manage Fields.
Click the green Add Element button with a plus sign at the bottom of the page.
In the popup window, click the Utility tab, hover over to the reCAPTCHA element and click.

Leave the settings as-is, and press the Add Element button at the bottom of the popup window to add the reCAPTCHA element.
reCAPTCHA can also be added to the claim listing form and the review submission form by repeating the same steps above for Claim or Review instead of Listing.
If custom login/registration forms are enabled, reCAPTCHA can also be added to those forms. See User Login/Registration and Guest Posts for more details.
Force disable reCAPTCHA
If you have enabled reCAPTCHA in your login form and for some reason reCAPTCHA stopped working and you are unable to login, you can add the following line of code to your wp-config.php file to force disable reCAPTCHA:
define('DRTS_RECAPTCHA_DISABLE', true);
Make sure to add the line to wp-config.php above where it says:
/* That's all, stop editing! Happy blogging. */