Adding and Managing Filters
If your directory is a property directory, you may want users to be able to view property listings within a certain price range only. Or if it is a restaurant directory, some visitors may only be interested in finding restaurants that serve Thai cuisine. This is where filters come into play. Filters allow your site visitors to limit or narrow content items displayed based on additional criteria. If your directory contains a large number of content items, then filters are a must-have for improving site usability.
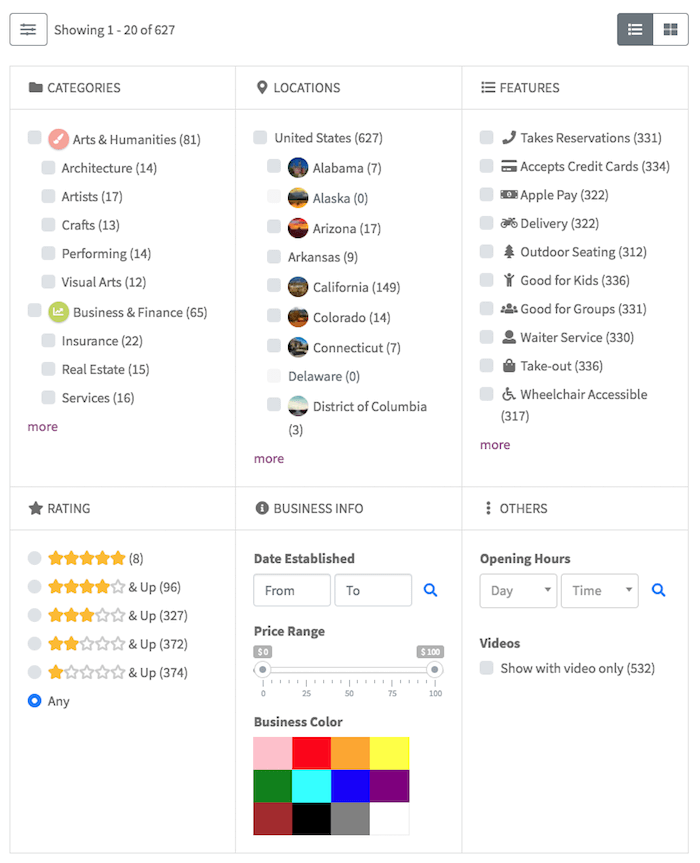
Visit the directory main page in the frontend to play around with the default filters already setup for your directory by the system. If your site does not have enough content to test the filters, you can try it on our demo site at https://demo.directoriespro.com/listings-with-filters/. Click on the filter button  above the listings to open a filter form. Try clicking on the checkboxes or changing the values in the filter form and see how the listings below the filters are updated automatically.
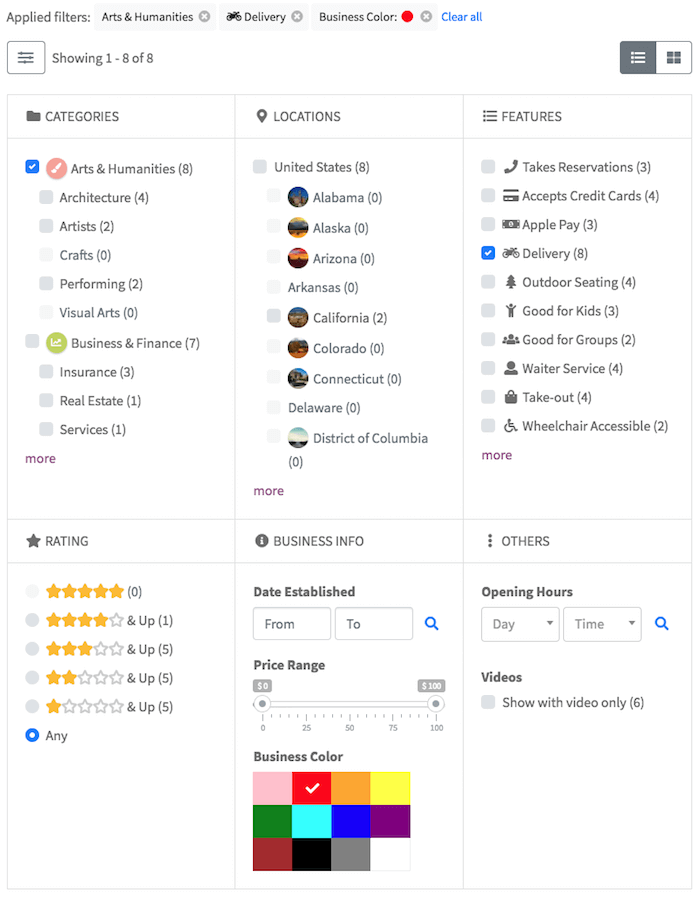
Also notice the numbers in parentheses for each option in the filter form indicating post counts are updated dynamically (which we refer to as facet counts) and options without any posts are greyed out depending on the filters currently selected as can be seen below:
Adding a filter
Filters filter content items based on field values. Therefore before adding a filter, you must first choose an existing field or create a new field to which to apply the filter.
In this section we will add a filter to the Features field of listings. Make sure first that you have already created the field by following the instructions in Adding and Managing Fields - Adding a custom field.
Follow the steps below to create a filter for the Features field:
Login to your website if not yet logged in and go to the WordPress administration dashboard.
Click Directories in the admin sidebar.
Under the All Directories tab, click the gear icon in the row of the directory to edit.
Under the Content Types tab, click the dropdown button in the Listing row and then click Manage Views.
Click the Manage Filters button.
This will navigate you to the following page showing a drag & drop filter form editor:
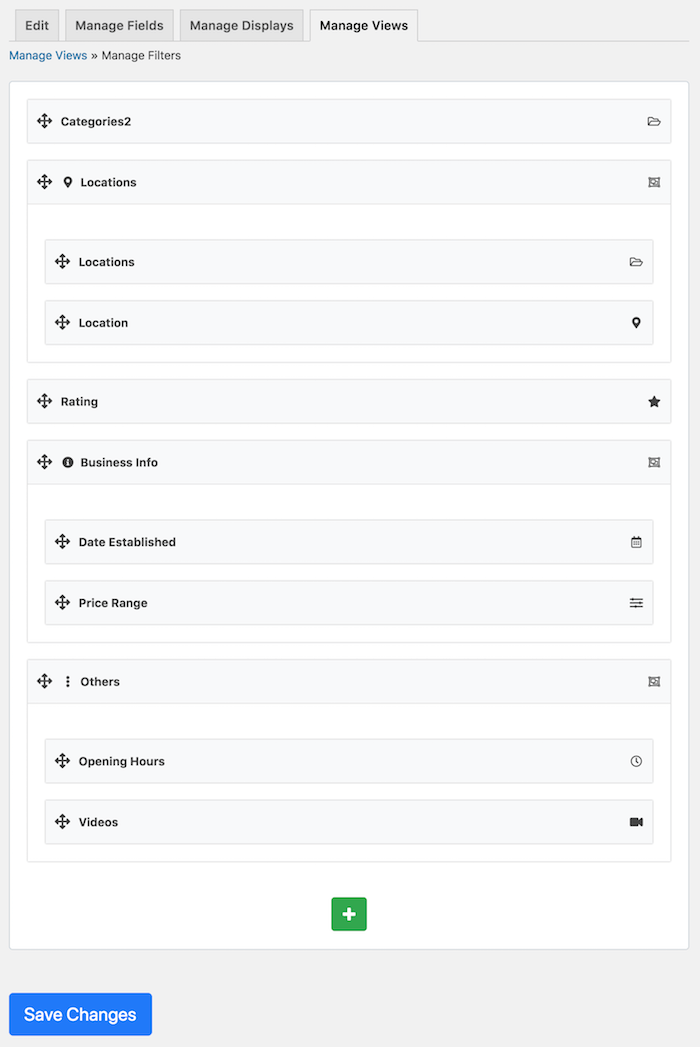
Each box in the editor is referred to as an element in this documentation.
Click the green Add Element button with a plus sign at the bottom of the page which will open a popup window.
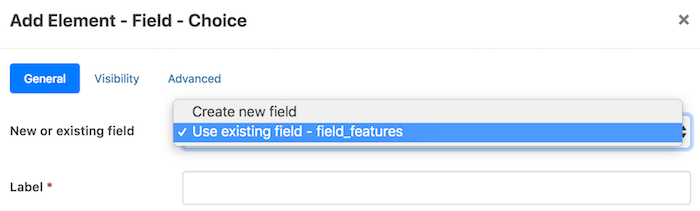
In the popup window, select the Field tab and click Features.
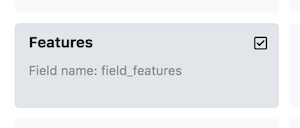
In the popup window under the General tab, configure the element as follows:
Label - Icon + Default label
Icon - Select any icon you like
Show label as heading - Yes
Match any or all - Match all
Leave other settings as-is and click the Add Element button at the bottom of the popup window.
You should see the filter element to the editor as below:

You can drag the element to wherever you wish the filter to appear in the filter form.
And below is how the filter is displayed in the frontend:
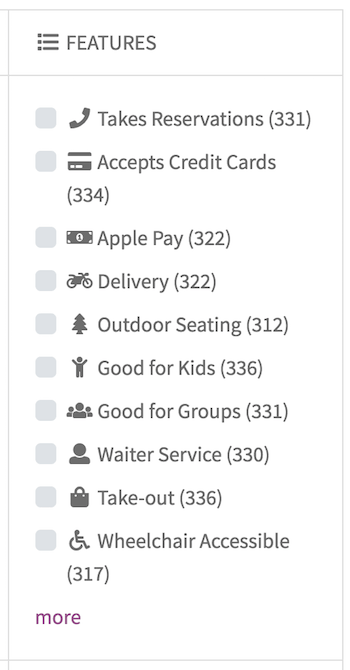
Note that the filter form is responsive. That is, filters are displayed in 3 columns only when there is enough space. When there is not enough space to show the filters in multiple columns, for example when the filter form is placed in the sidebar or when viewing on a small screen devices, the filters are displayed in a single column.
Adding conditional rules
Note: This feature is available from version 1.3.0.
Conditional rules let you define dependencies between filters. That is, you can have certain filters shown/hidden depending on the values of other filters.
To add conditional rules, click the Conditions tab in the popup form when adding or editing a filter.

Then, toggle the Add conditional rules switch.
Select Show or Hide from the first dropdown and then if all of the following match or if any of the following matches from the next dropdown.

You can then add as many rules as you like by selecting filters that the current filter depends on and entering values that need to be matched with those filters in order for the current filter to be shown or hidden.
For example, select Categories, is one of, and enter 1,5,10 to the text field so that your filter will be shown/hidden if one of the three categories (categories with ID 1, 5, or 10) is selected for the Categories filter in the filter form.

Use the Add More button to add more rules. To delete a rule, hover over to the rule that you wish to remove and click the red button displayed.
Deleting a filter
Follow the instructions below to delete a filter for listings:
On the filter form editor, hover over to the filter which you wish to delete, and then click the red trash icon.
Click OK on the popup alert box.
The filter will disappear and is removed from the filter form.
Disabling facet counts
Facets counts (post counts that are updated dynamically depending on the current search/filter criteria) are enabled by default. If you wish to disable the feature, go to Directories -> Settings, click the Directory sub-tab and uncheck the Enable facet counts option under the Filter Settings section.