Claiming Listings
When the claiming feature is enabled, listings that currently do not have any author assigned can be claimed by registered users. If a claim for a certain listing is approved by the administrator, the user who submitted the claim becomes the author of the listing.
Enable claiming
Follow these steps to enable claiming in your directory:
Login to your website if not yet logged in and go to the WordPress administration dashboard.
Click Directories in the admin sidebar.
Under the All Directories tab, click the gear icon in the row of the directory to edit.
Under the Settings tab, scroll down the page and select Yes for Enable claims.

Scroll further down and click Save Changes.
Claiming a listing
Users with the Create Claims permission (see Permissions for details on permissions) in your directory can claim listings from the single listing page.
Follow the steps below to claim a listing:
Login to the site and visit the single listing page of a listing to claim.
If the listing currently has no author assigned, a button with the Claim Listing label should be visible similar to below:

Click the Claim Listing button.
Enter the details for claiming the listing and press Submit.
If the submission is success, a Claim post with its claim status set to Pending status is created.
Users can track their claims either in the backend or on the frontend dashboard page. Claims that are still in pending status can be edited (requires Edit own Claims or Edit others Claims permission) but not if they are once approved or rejected. Claims with any status can be deleted (requires Delete own Claims or Delete others Claims permission) at any time.
Allowing guest users to claim listings
It is possible to allow guest users to claim listings if:
- Payment features are enabled for your directory in Directories -> Your directory -> Settings.
- Guest checkout -> Allow customers to place orders without an account is unchecked AND Account creation -> Allow customers to create an account during checkout is checked under WooCommerce -> Settings -> Accounts & Privacy.
- Create Claims permission is granted to the Guest user role in Directories -> Your directory -> Permissions.
Guest users will then be able to claim listings and will also be required to signup when checking out.
Managing claims
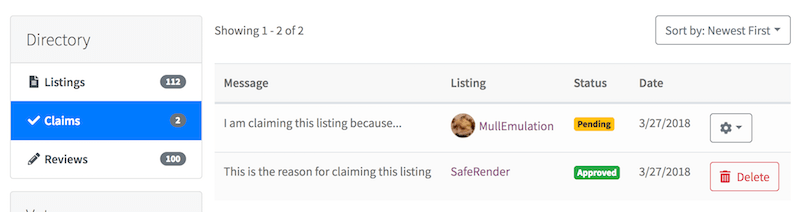
Users with the Admin Directory permission can view all the claims submitted in the directory by visiting the Claims directory administration page in the backend.

Claims can be filtered by date and/or claim status using the form above the list.

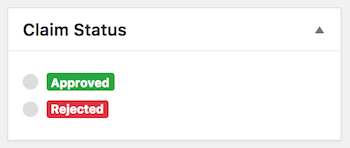
In order to approve/reject a claim, edit the claim and select either Approved or Rejected in the Claim Status metabox and then press Update.
When a claim is approved, the user who submitted the claim immediately becomes the author of the listing claimed. In addition, whether a claim is approved or rejected, an e-mail is sent to the user who submitted the claim notifying of the result (see Notifications for more details on notifications).
Note: If your directory has payments enabled, claims can be approved/rejected only after the order created with the claim has been marked completed.
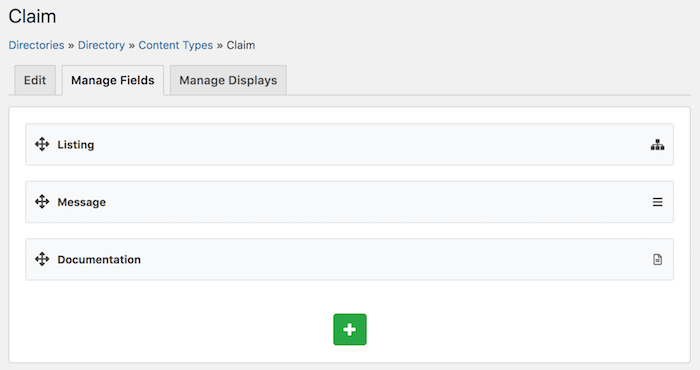
Adding fields to claim listing form
You can also add more fields to the claim listing form from Directories -> Your directory -> Content Types -> Claim -> Manage Fields (see Adding and Managing Fields for details on fields). For example, it may be useful to add a File type field to the claim listing form so that users are required to submit a certain document that can help directory administrators to determine the validity of the claim.
Claiming a multilingual listing
If your directory is a multilingual-enabled directory (see Multilingual Directory), then claiming a listing is equivalent to claiming all other translations (and the original listing if the listing claimed is a translated listing) of the listing at once. Once the claim is approved, the user who submitted the claim will become the author of not only the listing claimed but also its all translated listings.