Setting Up Frontend Submission and Dashboard Pages
Enable frontend submission
Follow these steps to enable frontend submission for your directory:
Log in to your website if you are not already logged in, and go to the WordPress administration dashboard.
Click Directories in the admin sidebar.
Under the All Directories tab, click the gear icon in the row of the directory you want to edit.
Under the Settings tab, scroll down the page and select Yes for Enable frontend submit.
Scroll further down and click Save Changes.
Accepting frontend submissions
In order to let users submit listings from the frontend, make sure that a valid WordPress page is assigned as the page for displaying the listing submission form.
Log in to your website if you are not already logged in, and go to the WordPress administration dashboard.
Click Directories in the admin sidebar.
Click the Settings tab and then the Pages sub-tab.
Make sure a valid page is selected for XXXX - Add Listing (where XXXX is the name of your directory).

Scroll down the page and click Save Changes.
When you visit the page on the frontend, it should look as shown below:
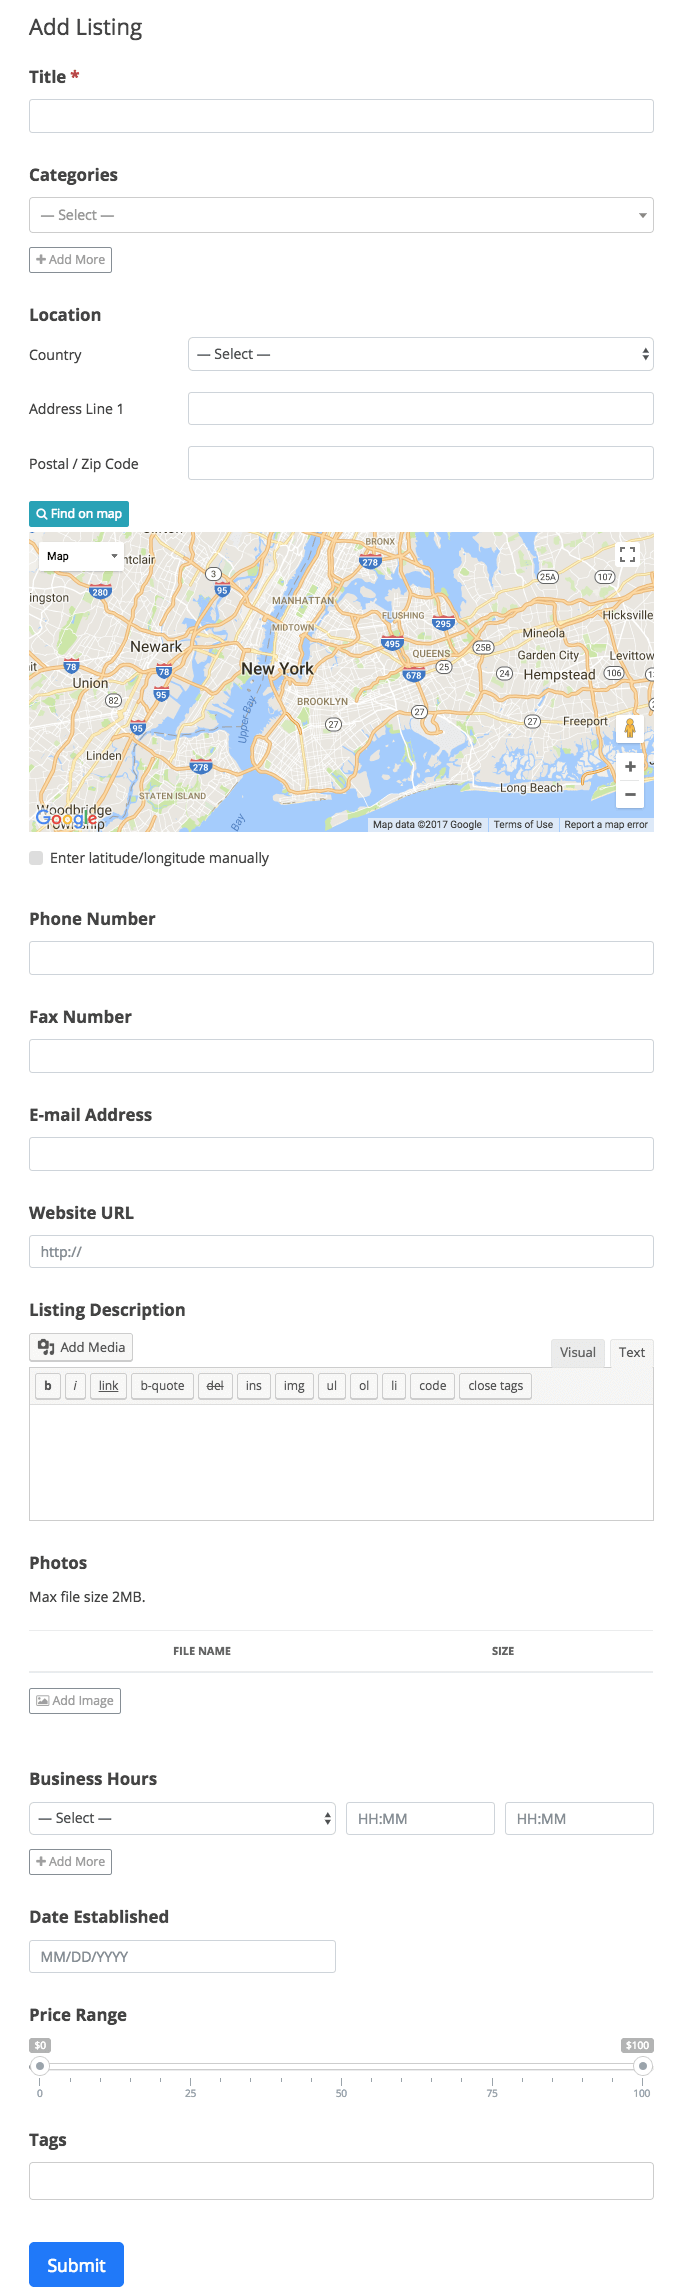
As with backend submissions, the Create Listings permission is required to add listings through the frontend submission form (see Permissions for details on permissions). If a user without this permission tries to view the page, they will be redirected to the directory main page if they are a registered user, or prompted to either log in or register if they are a guest.
Once a listing is submitted successfully through the form, the post status of the listing becomes Published if the user who submitted the listing has the Publish Listings permission. If the user does not have the Publish Listings permission, then the post status of the listing is set to Pending and requires a manual update of the post status from the backend dashboard by an administrator in order for the listing to be published on the frontend.
Submission restriction settings
Submission restriction settings let you limit the number of listings and reviews (per listing) submitted from the frontend.
Log in to your website if you are not already logged in, and go to the WordPress administration dashboard.
Click Directories in the admin sidebar.
Click the Settings tab and then the Frontend Submit sub-tab.
Scroll down to Submission Restriction Settings.
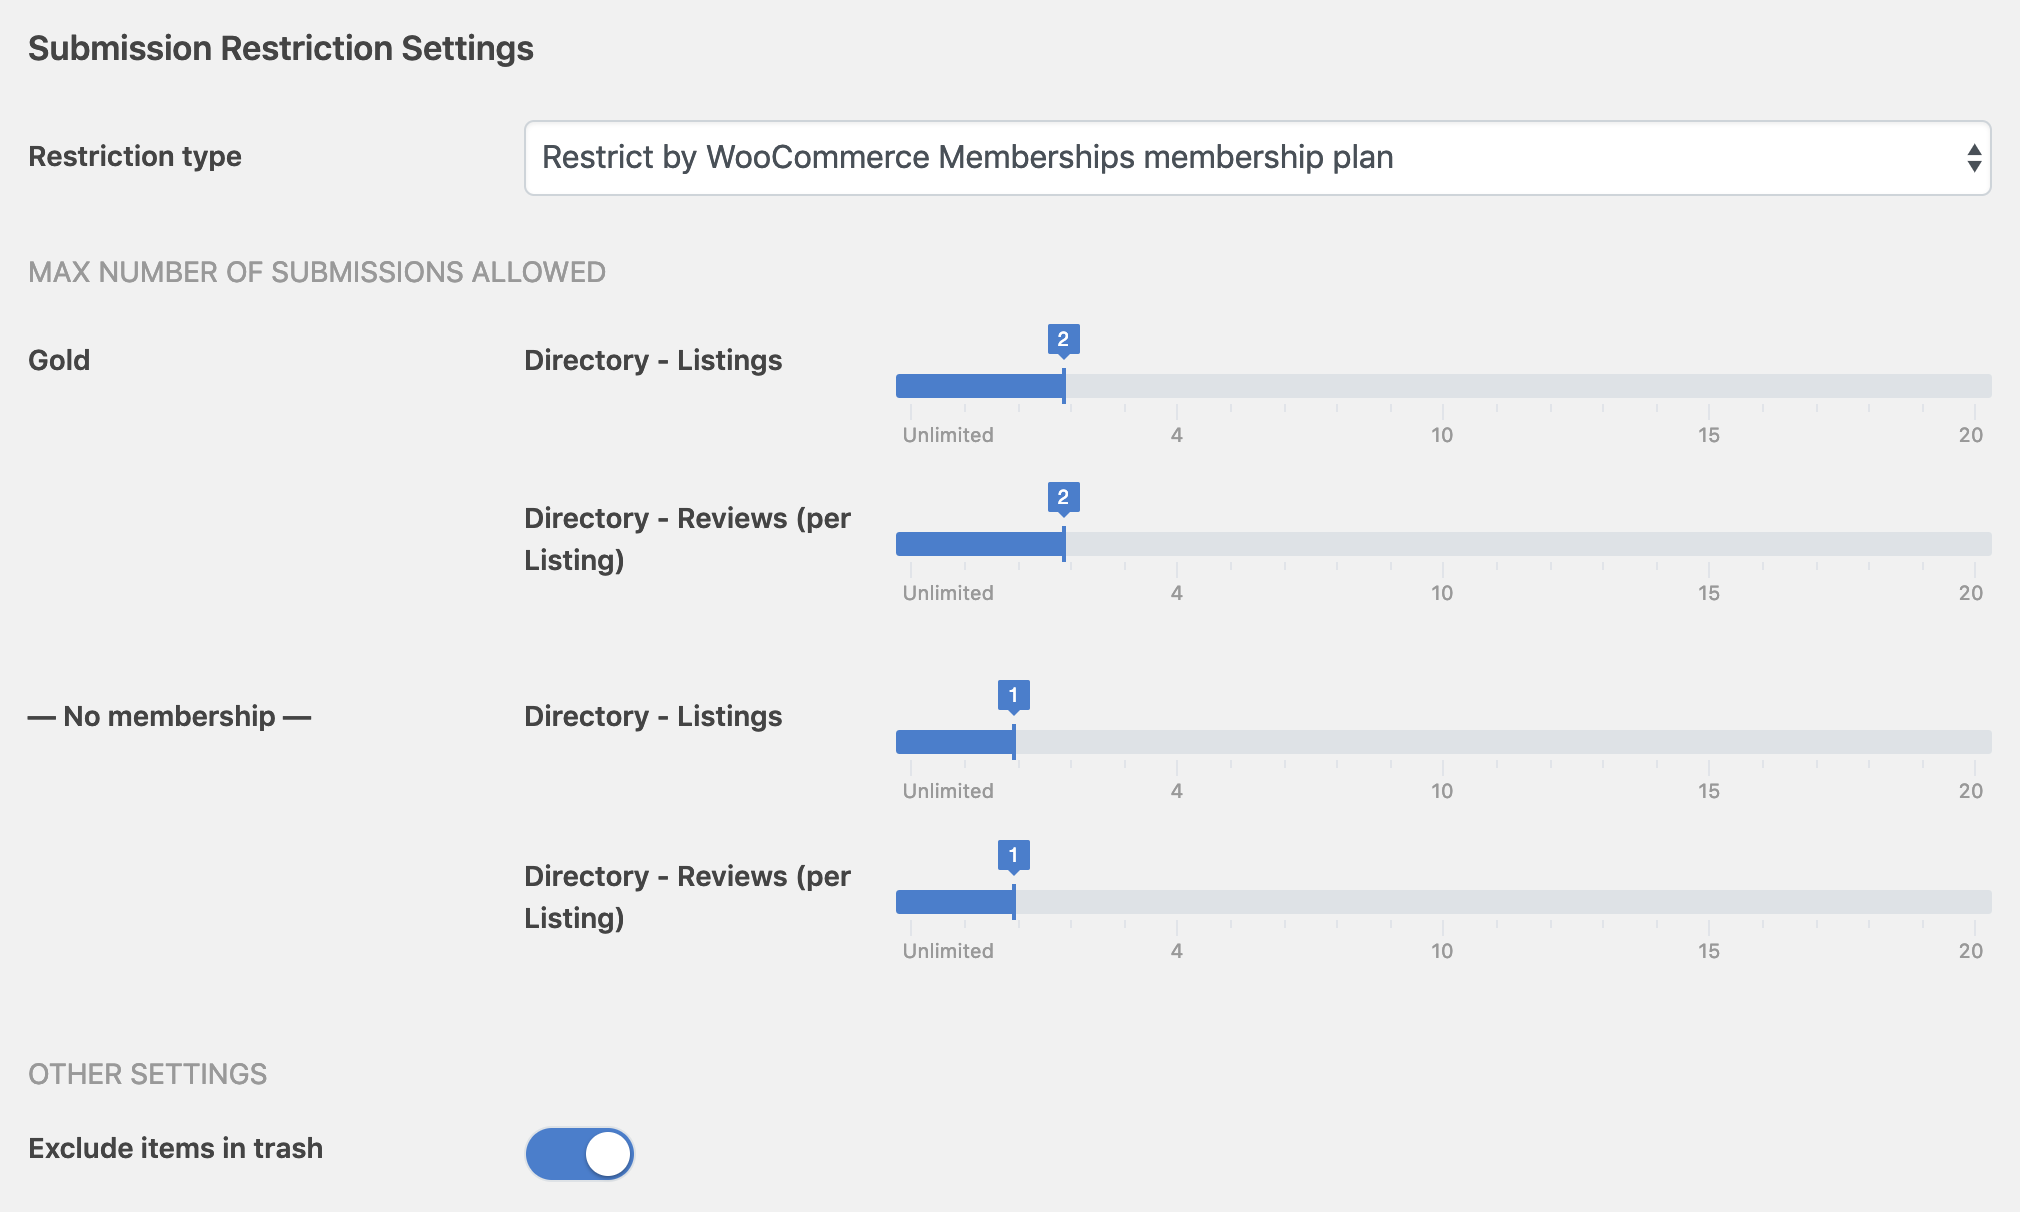
Restriction type - Select the type of restriction to apply.
Default - Lets you simply set the number of submissions allowed for each content type.
Restrict by user membership - Set the number of submissions allowed for each content type by memberships.
Restrict by WordPress user role - Set the number of submissions allowed for each content type by WordPress user role, including the Guest user role.
Restrict by WooCommerce Memberships membership - Set the number of submissions allowed for each content type by membership created with the WooCommerce Memberships plugin.
MAX NUMBER OF SUBMISSIONS ALLOWED - Set the number of submissions allowed for each content type. The settings shown here depend on the type of restriction selected.
OTHER SETTINGS
- Exclude items in trash - Whether or not to exclude trashed content items from the number of submitted posts.
Setting up the frontend dashboard
The frontend dashboard lets users manage their content from the frontend of your site. In order to enable it, make sure that a valid WordPress page is assigned as the page for displaying the frontend dashboard.
Log in to your website if you are not already logged in, and go to the WordPress administration dashboard.
Click Directories in the admin sidebar.
Click the Settings tab and then the Pages sub-tab.
Make sure a valid page is selected for Frontend Dashboard.

Scroll down the page and click Save Changes.
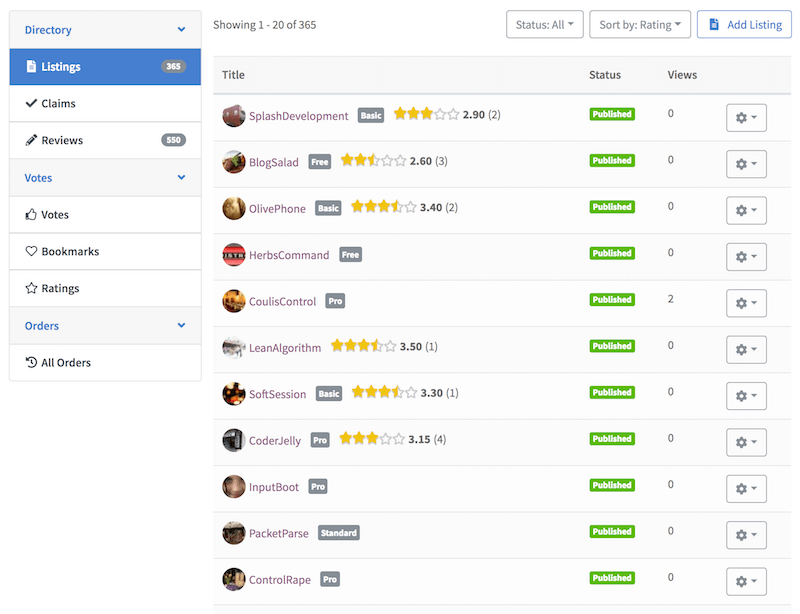
When you visit the page on the frontend, it should look as shown below:
You can also configure which dashboard panels should be displayed in the dashboard, as well as their labels and display order.
Log in to your website if you are not already logged in, and go to the WordPress administration dashboard.
Click Directories in the admin sidebar.
Click the Settings tab and then the Dashboard sub-tab and scroll down to Dashboard Settings.
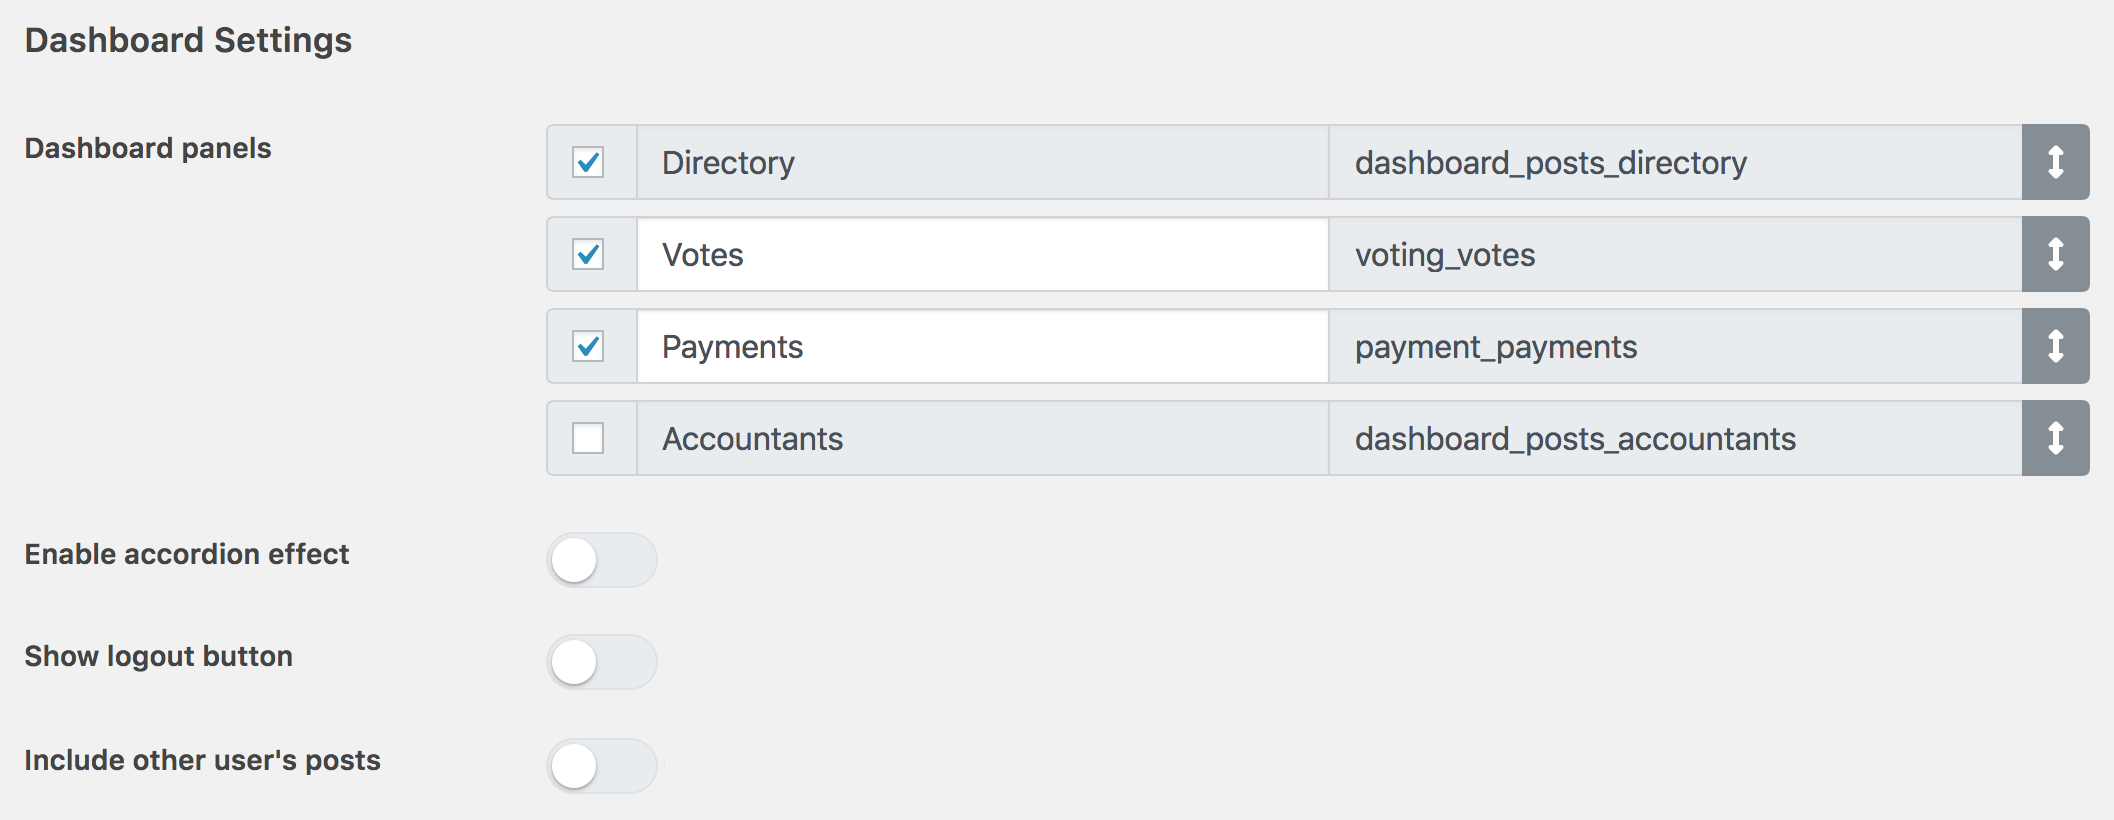
Dashboard panels - Select or deselect options to enable or disable panels. You can also edit the label of each panel and/or drag each option to change the display order.
Enable accordion effect - Whether to close other panels when one is open.
Show logout button - Whether to show a logout button.
Enable public dashboard - Whether to allow users to view the dashboard panel of other users. Note that some panels, such as the payment panel, are not visible to other users.
Show add item button - Whether to show the "Add Listing" button in the listings panel.
Include other users' posts - Enable this option to show other users' posts in the posts panel, if the user has either the "Edit others XXX" or the "Delete others XXX" permission.
Show filter form - Whether to show a filter form in the posts panel.
Select filter group - Select the filter group used to display filters in the filter form.
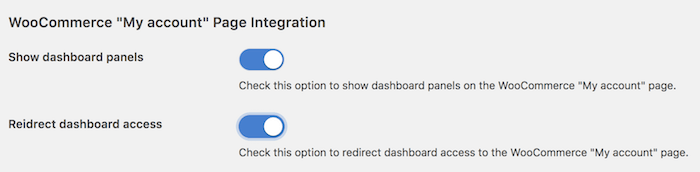
WooCommerce "My account" page integration
If the Directories - Payments plugin is activated on your site and WooCommerce is selected as the payment component (see Monetization for details), you can have the dashboard displayed on the My Account page of WooCommerce.
In order to enable integration, toggle the Show dashboard panels option under WooCommerce "My account" Page Integration.
Then the WooCommerce My Account page will display the dashboard fully integrated as shown below:
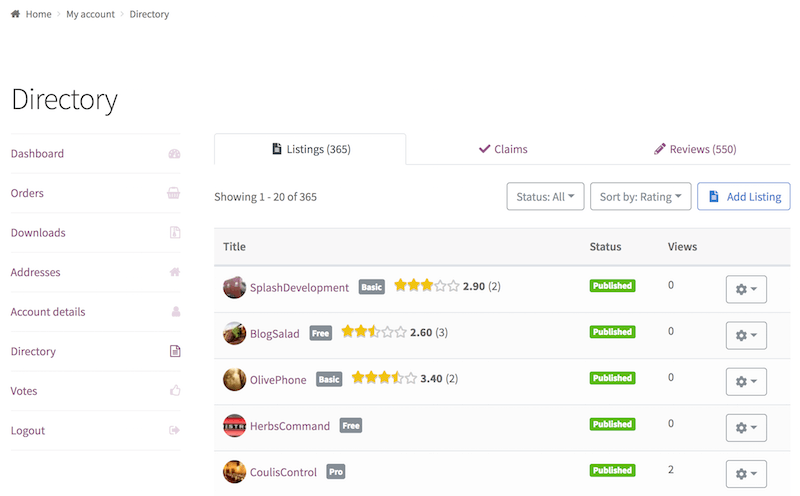
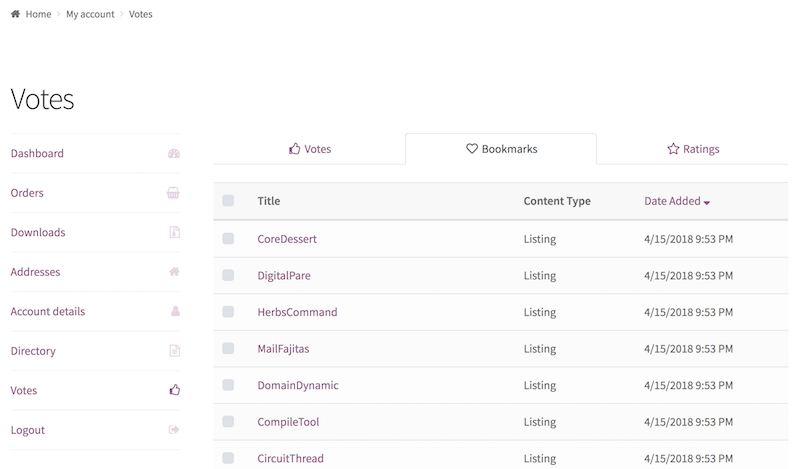
You can also turn on the Redirect dashboard access setting so that any attempt to access the directory dashboard page is automatically redirected to the WooCommerce "My Account" page. Note that this will not work when you are using the [drts-dashboard] shortcode on the directory dashboard page.
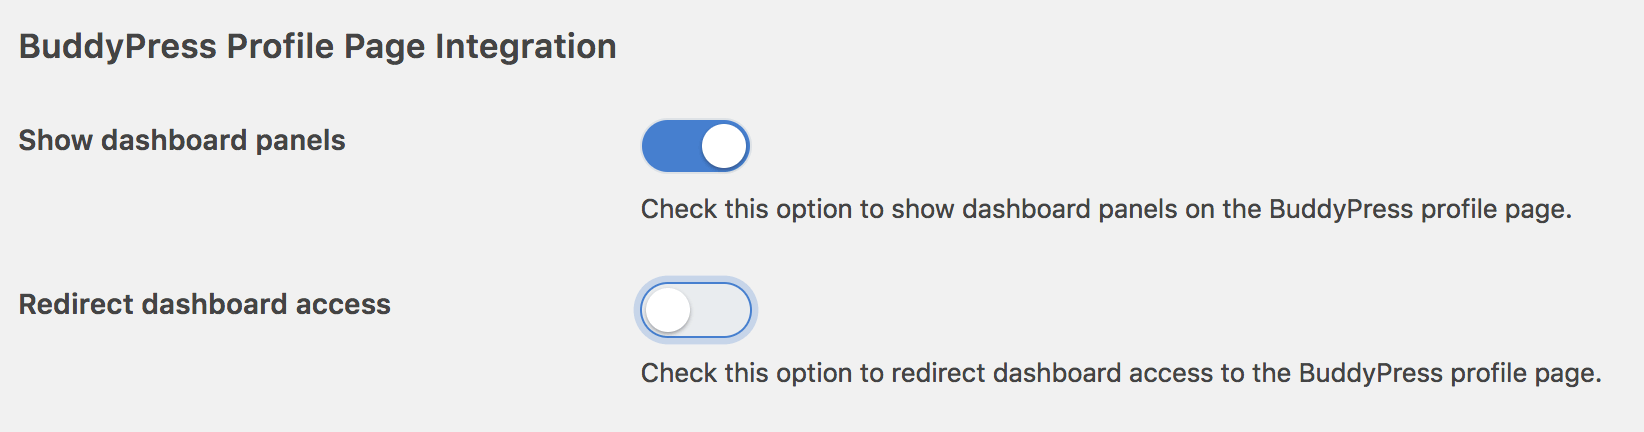
BuddyPress user profile page integration
If you have the BuddyPress plugin installed, you can have the dashboard displayed on the user profile page of BuddyPress.
In order to enable integration, toggle the Show dashboard panels option under BuddyPress Profile Page Integration. You can also turn on the Redirect dashboard access setting so that any attempt to access the directory dashboard page is automatically redirected to the BuddyPress user profile page. Note that this will not work when you are using the [drts-dashboard] shortcode on the directory dashboard page.
Ultimate Member user profile page integration
If you have the Ultimate Member plugin installed, you can have the dashboard displayed on the user profile page of Ultimate Member.
In order to enable integration, toggle the Show dashboard panels option under Ultimate Member Profile Page Integration. You can also turn on the Redirect dashboard access setting so that any attempt to access the directory dashboard page is automatically redirected to the Ultimate Member user profile page. Note that this will not work when you are using the [drts-dashboard] shortcode on the directory dashboard page.
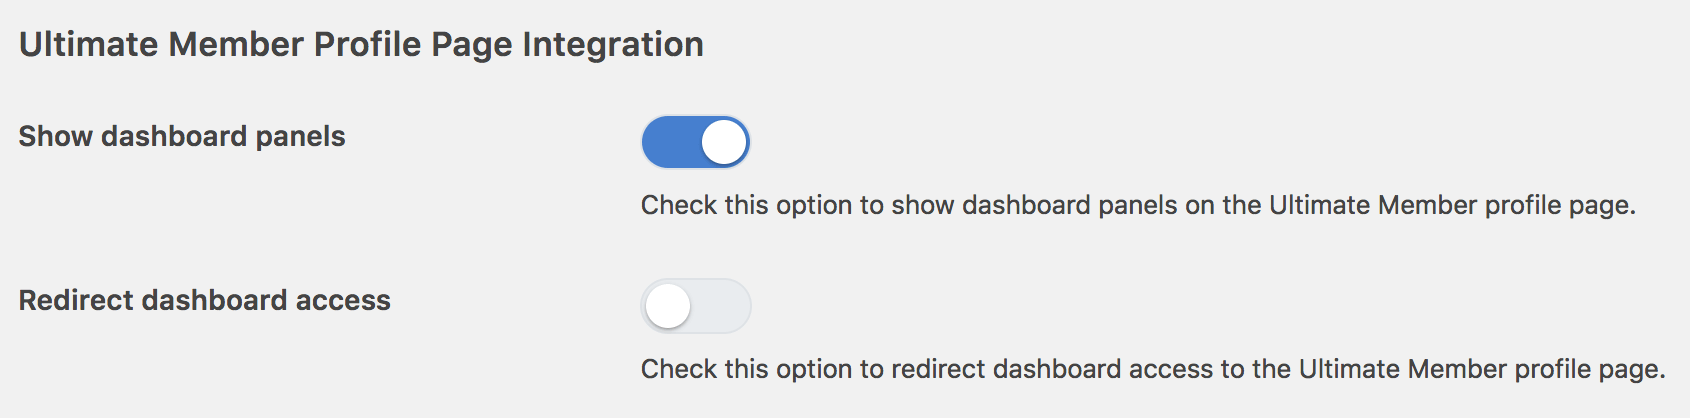
You will also need to go to Ultimate Member -> Settings -> Appearance -> Profile Menu, enable tabs for Directories Pro content and click Save Changes. Please do this even if the tabs are already enabled in the settings.
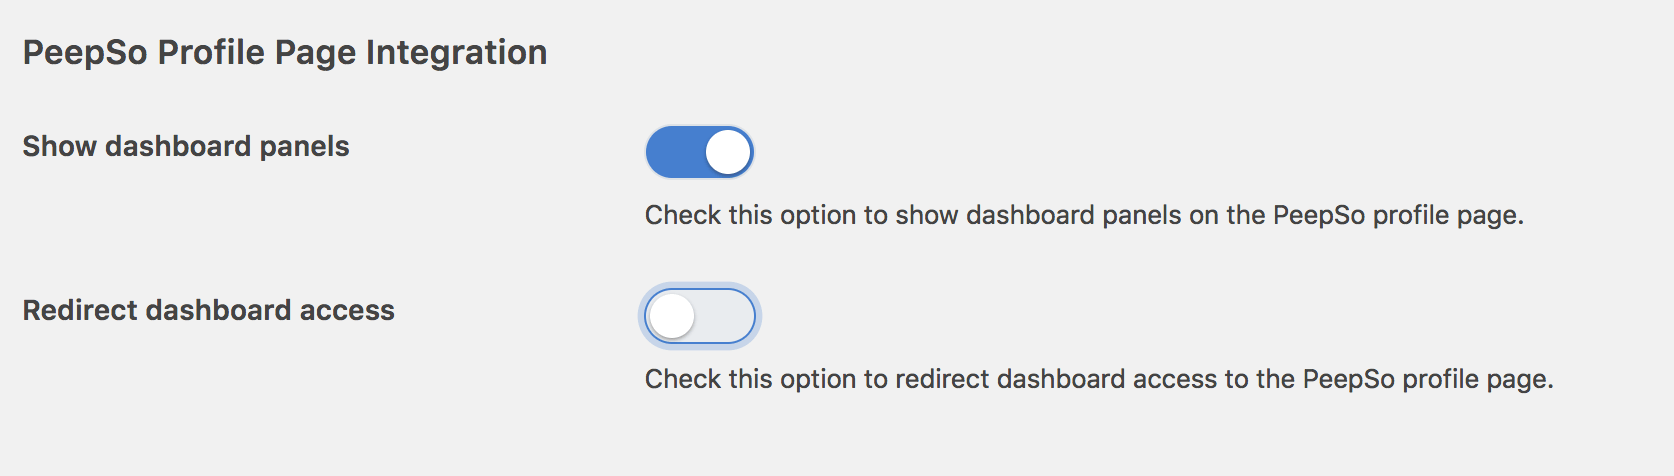
PeepSo user profile page integration
If you have the PeepSo plugin installed, you can have the dashboard displayed on the user profile page of PeepSo.
In order to enable integration, toggle the Show dashboard panels option under PeepSo Profile Page Integration. You can also turn on the Redirect dashboard access setting so that any attempt to access the directory dashboard page is automatically redirected to the PeepSo user profile page. Note that this will not work when you are using the [drts-dashboard] shortcode on the directory dashboard page.
[drts-frontend-add-entity-link] shortcode
The [drts-frontend-add-entity-link] shortcode can be used to display a link to the add listing page. The following is a list of parameters available for the shortcode:
directory (required) - Specify the machine-readable name of the directory.
label - Text to be used as the label of the link.
icon - Specify a FontAwesome icon name, e.g., fa-solid fa-pen.
btn_color - Specify a button color, one of primary, secondary, success, warning, danger, info, dark, light, defaults to primary.
btn_size - Button size, one of sm, md, lg.