Contact Us Form
A contact us form can be added to single listing pages of your directory which lets users send messages directly to listing authors. Directories Pro does not generate the form by itself, but instead provides integration with a number of popular contact form plugins for WordPress.
Creating a contact form
The first thing you need to do is to create a contact form using one of the following 3rd party contact form plugins.
Contact Form 7
The Contact Form 7 plugin is the most downloaded contact form plugin on wordpress.org.
Follow the instructions on their documentation site to create a contact form: https://contactform7.com/docs/
WPForms
The WPForms plugin lets you build contact forms using a drag & drop online form builder.
Follow the instructions on their documentation site to create a contact form: https://wpforms.com/docs/creating-first-form/
Gravity Forms
Gravity Forms is a paid contact form plugin that has all the advanced features one can ask for.
Follow the instructions on their documentation site to create a contact form: https://www.gravityhelp.com/documentation/article/creating-a-form/
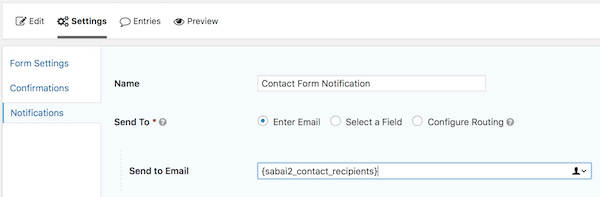
After creating a form, go to the Settings section of the form. Under the Notifications tab, create or edit a notification with the Send To option set to Enter Email, and then enter {drts_contact_recipients} to the Send to Email field.
HappyForms
HappyForms makes it simple for you to manage and respond to conversations with your website visitors. Directories Pro is also compatible with their paid version of the plugin (https://happyforms.io/upgrade).
Follow the instructions on their documentation site to create a contact form: https://happyforms.io/help-guide
Formidable Forms
The Formidable Forms plugin lets you build contact forms using a drag & drop online form builder.
Follow the instructions on their documentation site to create a contact form: https://formidableforms.com/knowledgebase/
Displaying your contact form
Once you have created a contact form, you can add the form to the single listing page by following these steps:
Login to your website if not yet logged in and go to the WordPress administration dashboard.
Click Directories in the admin sidebar.
Under the All Directories tab, click the gear icon in the row of the directory to edit.
Under the Content Types tab, click the dropdown button in the Listing row and then click Manage Displays.
Click the Detailed sub-tab.
Note: The contact form display element is supported by the Detailed display only.
Click the green Add Element button with a plus sign at the bottom of the page.
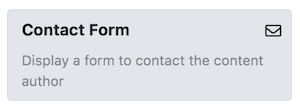
In the popup window, click the Content tab and then click the Contact Form element.
Under the General Settings tab, select one of your forms from the Select form dropdown.

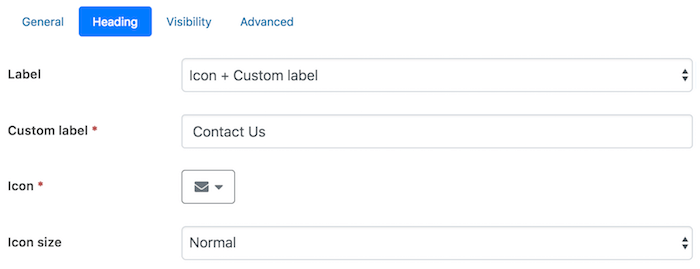
Optionally under the Heading Settings tab, select Icon + Custom label, enter Contact Us for Custom label. Press the button for Icon, enter envelope and select one of the icons displayed.
Click the Add Element button at the bottom of the popup window.
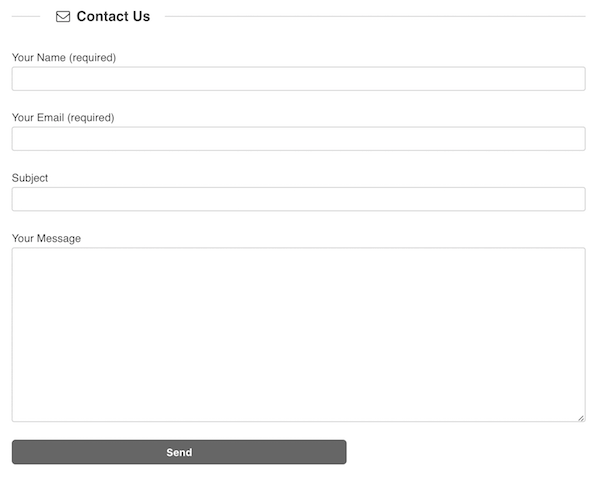
Visit the single listing page of a listing in the frontend. Below is a sample output of a contact form generated by the Contact Form 7 plugin.
Note: If your directory has payment features enabled, make sure the Contact Form feature is enabled for the payment plan associated with the listing, otherwise the form will not be displayed on the listing page. For listings without a payment plan, make sure the Contact Form feature is enabled under Directories -> Your directory -> Content Types -> Listing -> Edit -> Payment.
Contact form recipients
By default, messages submitted through the contact form is sent to the e-mail address of the listing author. However, you can change or add more recipients by editing the Contact form recipients setting.
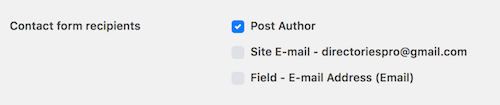
As you can see above, your site e-mail address and the e-mail address entered for custom field(s) can also be selected as the recipient.
If payment features are enabled in your directory, the setting can be found when you configure payment plans or configure the default feature level.
If payment features are NOT enabled, then you can find the setting under Directories -> Your directory -> Content Types -> Listing -> Edit -> General.
Embedding listing details
In order to embed details of the listing into the message sent through the contact us form, you can use tags supported by each of the contact form plugins.
Contact Form 7 - https://contactform7.com/special-mail-tags/ (see Post-Related Special Mail Tags)
WPForms - https://wpforms.com/docs/how-to-use-smart-tags-in-wpforms/#smart-tags
Gravity Forms - https://docs.gravityforms.com/embed_post-merge-tag/ -