Adding and Managing Listings
Listings in Directories Pro are a custom post type, therefore you can create them in the same way as blog posts and pages in WordPress.
Adding a listing
Follow the steps below to add a listing to your directory.
Login to your website if not yet logged in and go to the WordPress administration dashboard.
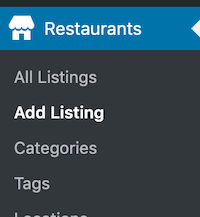
Select Add Listing under your directory menu in the admin sidebar.
The Add Listing page should look like below.
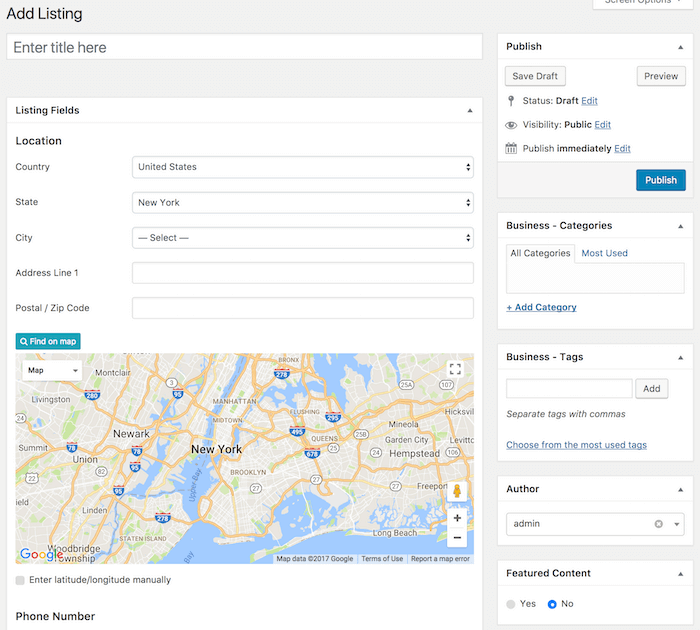
Enter the title of your listing into the text field where it says Enter title here.
Next, enter detailed information of your listing to the fields under the Listing Fields section where the following fields are available by default.
Location - Enter the location of the listing.
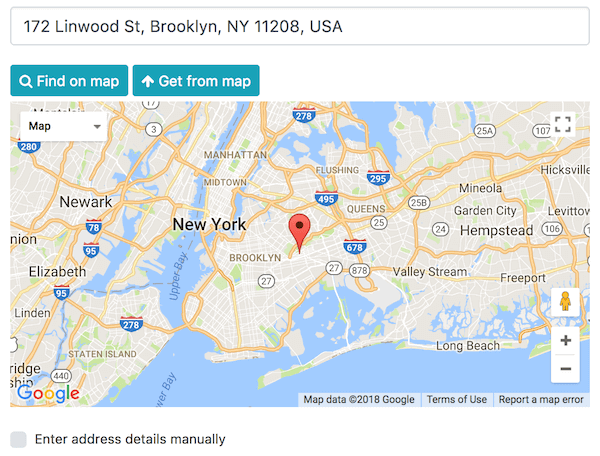
You can also have the field filled out automatically by clicking on the map.
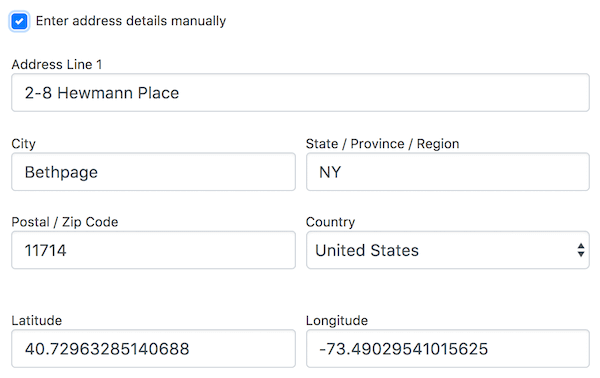
Clicking on the map will also automatically assign values to each address component of the field and latitude/longitude coordinates. If you prefer entering or selecting the fields manually, check the Enter address details manually checkbox below the map which will reveal additional fields.
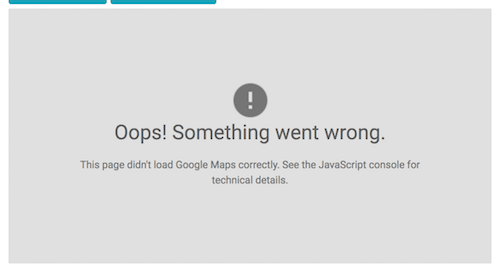
Note: If you are seeing an error message such as "Oops! Something went wrong." on the map as shown below, make sure that you have configured an API key for Google Maps API. See Obtaining a Google Maps API key for more details.
Phone Number - Enter the phone number of the listing.
Fax Number - Enter the fax number of the listing.
E-mail Address - Enter the contact E-mail address of the listing.
Website URL - Enter the website URL of the listing.
Social Accounts - Enter social media accounts associated with the listing. Some accounts require a full URL while others require only a user, page, or hashtag name.

Listing Description - Enter the detailed description of the listing. Shortcodes may be used in this field.
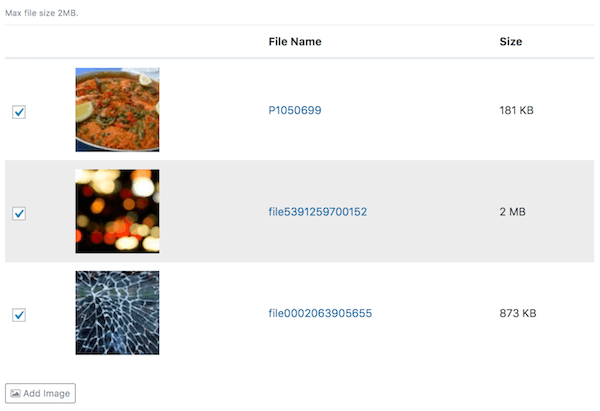
Photos - Upload photos of the listing. If multiple photos are uploaded, the photo in the first table row of the field will become the featured photo. You can drag the rows in the table to swap the featured photo or rearrange the display order of photos.
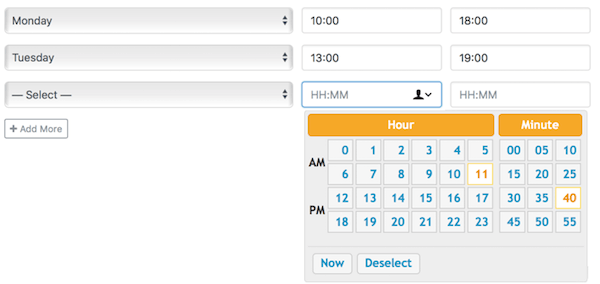
Opening Hours - Select a day of week and specify a time range. You can add as many entries as you wish by clicking on the Add More button.
Date Established - Click inside the text box to open a date picker popup and select a date.
Price Range - Specify a price range by dragging the circles on the sides.

Some other fields available on the side are as follows:
XXXX - Categories (where XXXX is the directory label) - Select from existing categories or create new categories for the listing.
XXXX - Tags (where XXXX is the directory label) - Select from existing tags or create new tags for the listing.
Author - Set the author of the listing. If no author is selected, then the listing becomes claimable and users with a valid permission will be able to claim the listing and become the author. See Claiming Listings for more details.
Featured Content - Select Yes to make the listing featured.
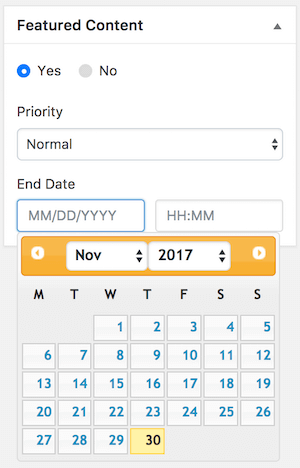
The Priority option specifies the priority of the listing within all featured listings. Featured listings with a higher priority level are displayed above featured listings with lower priority levels when listings are sorted by featured listings first.
End Date specifies the date at which the listing is un-featured.
Click the Publish button to create and publish your listing immediately, or click Save Draft to publish it later.
Editing a listing
To edit a listing:
Login to your website if not yet logged in and go to the WordPress administration dashboard.
Select All Listings under your directory menu in the admin sidebar.
In the listings table, hover over to the row of the listing that you wish to edit and click the Edit link that appears in the Title column.
Make any changes needed to the listing and then click Update.
Deleting a listing
To delete a listing:
Login to your website if not yet logged in and go to the WordPress administration dashboard.
Select All Listing under your directory menu in the admin sidebar.
In the listings table, hover over to the row of the listing that you wish to delete and click the Trash link that appears in the Title column. This will move the listing to Trash.
In order to permanently delete the listing, click the Trash link above the listings table, find the listing that has just been moved to trash and then click Delete Permanently.